Professional-looking and well-lit product photos are the key to success in an online business. In a brick-and-mortar shop you can not only see, but also touch and smell products, examine them closely. But when shopping online, you can really rely only on two things – photos and reviews. As a result, people rarely buy from sellers whose product images are blurry and unsharp, and it’s pretty much impossible to see the product clearly.
Say, you realized that your product photos look kind of amateurish and poorly-lit. So, you’d like to improve them. But your business is new and small, and you don’t have the budget to hire a professional photographer. No need to worry! It’s possible for you to take beautiful product photos on your own and without breaking the bank. It’s not as daunting as it may seem, yet you must be ready to make some investments. You’ll need to get some equipment and tools, learn a few new skills, and use a little bit of ingenuity and creativity.
Fortunately, this article features useful tips on how to improve DIY product photography. Here you will learn everything you need to know – what equipment and tools you should get, what you should pay attention to during the shoot. What’s more, you’ll find out not only how to produce professional-looking images, but also how to maintain their clarity and sharpness after you publish them online. If you’re interested, keep reading!
What You Should Do to Improve DIY Product Photography
If you want to increase your sales, make sure that your product photos look amazing. It’s okay if you cannot afford to hire a professional photographer at the moment. It’s possible to create beautiful images on your own – you just need to keep some things in mind and follow some tips. Let’s take a look at how you can improve your DIY product photography.
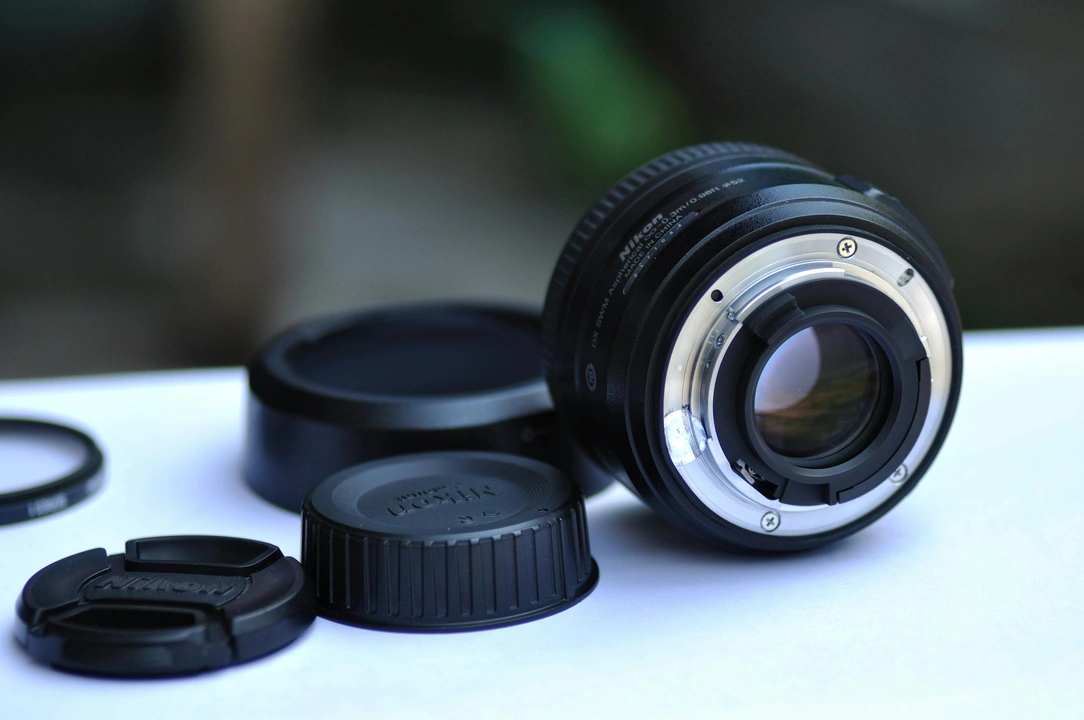
Get the Right Equipment for the Job
Professional photographers use expensive high-end gear because it makes their work easier. But you don’t really need it to get sharp, clear and well-lit DIY product photos for listings and social media. In fact, there are just a few things that you’ll require.
Camera
If you have a smartphone with a decent camera that can produce sharp and color-accurate photos of good enough quality, then you can use it for your DIY product photography; some successful online sellers do exactly that. However, in most cases, even an entry-level digital camera will produce images with higher resolution and overall better image quality that will look more professional than photos taken on an iPhone. What’s more a digital camera will give you much more flexibility and creative freedom.
So, for your product photos to be more attention-grabbing, you might want to invest in a digital camera. If your budget is rather tight, consider buying a used camera in an online shop like B&H that sells both brand new and used equipment for photography. Yes, in this day and age, it’s perfectly possible to find used gear that works wonderfully without costing a fortune.
Lens
If you buy a point-and-shoot, your camera will already have a built-in lens. But if you opt for an interchangeable lens camera, then you’ll need to get a lens, too. Please note that you should choose a lens carefully as the overall quality of photos will depend on it.
You can buy a zoom lens with varying focal lengths like 18-55mm or 24-105mm. Alternatively, you can go for a prime lens since it can be cheaper. A prime lens has a fixed focal length, thus, you’ll need to get closer to your subject physically if this need arises. 24mm, 35mm and 50mm are great for DIY product photography. If you mostly sell tiny items, make sure to get a macro lens. Generally speaking, the choice of a lens mostly depends on what kind of products you usually shoot and how much space you have in our DIY “studio”, so you might want to do some more research on this topic.
Tripod
A tripod is a must. Even if you’re planning on using a smartphone for your DIY product photography, you will absolutely need a tripod because it will keep your device steady. You will need to shoot at slower shutter speeds, and it’ll be practically impossible to shoot hand-held – otherwise, you’ll end up with blurry images. A tripod will help you avoid this.
When choosing a tripod, make sure that it can extend to the necessary height, sustain the weight of your camera and your lens and that it’s sturdy. Also, you might need a tripod that will allow you to experiment with different angles and heights, if your products vary in size.
Table
To photograph your products, you’ll need to put them on something – if they are not too big, that is – which is why you’ll need to get a table. In most cases you’ll need to photograph items on a white surface, so you can get a plain white table; alternatively, you cover it with a white tablecloth or some poster board. You might consider getting a standard folding table since you’ll be able to put it away. When choosing a table for your DIY product photography, make sure that it’s quite sturdy and its size is suitable for the kind of products that you often shoot.
Background
For your product photos to look good and professional, you will need a clean, monochrome background. Most products look good on a white background. A large piece of white poster board will be perfect for your needs in most cases. You can also go for a piece of white fabric or some white seamless paper or even a plain white wall, if you happen to have it.
White color is reflective – it reflects light. So, your products won’t have deep shadows when surrounded by white. Please note, however, that if the majority of your products are light-colored or even white, then you’ll need a darker background to achieve some visual separation and contrast.
Tape
Gaffer’s tape or painter’s tape is usually indispensable in DIY product photography. With it you can secure a small item in a certain position on a table, for instance. Most often, painter’s tape will help you attach your background to the wall and hold it in place. Usually, there are special frames and setups for backgrounds in photography, but they can be quite costly. Using tape is much more budget-friendly.
Reflector or bounce cards
Another must for DIY product photography is a reflector or bounce cards. With their help, you’ll be able to manipulate light. You need bounce cards or a reflector to reflect light and fill in the shadows; in other words, make the shadows less deep and dark. You can use some foamboard, poster board or even some fabric, but they need to be either white or silver to actually reflect light.
For instance, if you’re using natural light and the window is to the left of your product, you’ll need to place a white bounce card on the right side, where there are more shadows. You’ll notice that with the bounce card, your product will be more evenly lit and the shadows won’t be too dark.
Lighting
For your product photos to look sharp, clear and color-accurate, you need to fill the scene with enough light. Bad lighting can ruin any photo. Don’t worry, you can use natural light for your DIY product photography. Make sure that your window is large enough and you’ll need to place your product as close to it as possible. If you’re shooting on a sunny day, you might need a light diffuser – for instance, a piece of grease proof paper – to make light softer. It’s not a good idea to shoot in the direct sunlight because it will create harsh shadows.
You can invest in some lighting equipment if you want. The main advantage of artificial lighting is that it’ll give you much more flexibility. You’ll be able to do your DIY product photography anywhere in your flat or house and at any time of day or night you want. Make sure that your lighting equipment has neutral white color, though: something around 4000-4500K. This way you won’t end up with photos that are too warm or too cool, and the colors of your products will be accurate.
Get Your Set Ready
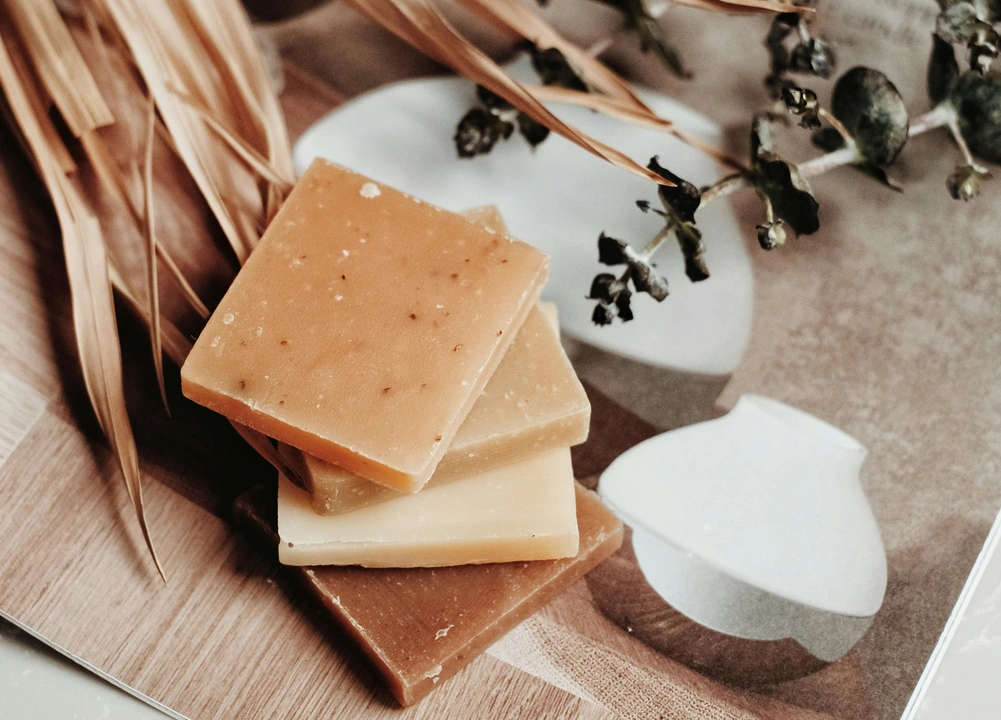
This part might be intimidating. But don’t worry, it’s not as hard as it may seem. Your product needs to be lit well and evenly – that’s what you should focus on.
You’ll need a room that has a large-enough window and with plenty of natural light; if that’s what you’re using. Plus, it should be more or less spacious for you to move around easily. Set your table and clean, monochrome background as close to the window as possible. If there are any curtains covering your window, move them away. If harsh sunlight is spilling through the window right on your table, place the light diffuser between the sunlight and your scene. Also, keep in mind that you shouldn’t place your item too close to the background.
The main source of light should be slightly to the left or to the right of your subject. Use bounce cards or a reflector to fill in the shadows and make sure that your product is evenly lit. You’ll need some shadows to create depth in your image, but make sure that the shadows aren’t too deep. Don’t place the light right in front of your product; otherwise you will end up quite flat-looking images. Back-lighting isn’t suitable for DIY product photography, either – your images won’t be color-accurate.
Finally, set your camera on a tripod and get to work. Don’t rush the process. Take photos of a single product from different angles and sides. Take closeup shots of little details. Your photos need to give buyers a clear understanding of what it is you’re selling. Keep in mind that the central composition tends to work best for product photography.
Everything Should Be Sharp And in Focus
Your camera should be kept as steady as possible; this is what you need a tripod for. Also, make sure that there’s plenty of light in your scene and your product is well lit. With plenty of light, you won’t have to increase your ISO, which can introduce some noise, or lower your shutter speed too much, which can result in blurriness.
Ideally, your whole product should be in focus. When doing DIY product photography, the last thing you want is a shallow depth of field. If you are new to using a digital camera, to achieve this, you need to close your aperture, which basically means you need to shoot at f8, f11 or maybe even at f14 or f16. A closed aperture will produce images with a less blurry background, but more of the main subject will be sharp and in focus. However, when an aperture is closed, less light goes inside the camera. Thus, you will need to lower your shutter speed, so your photos won’t look too dark. A tripod will allow you to shoot at f11 and a lower shutter speed without introducing any blurriness.
Add Something for Scale
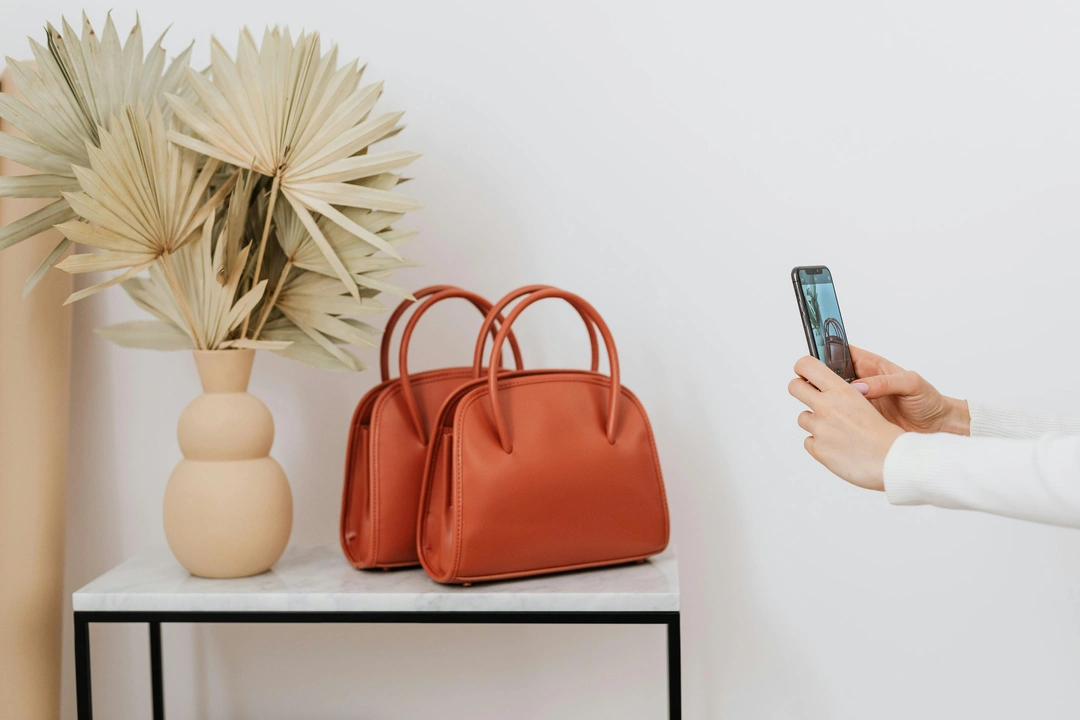
In most cases, you won’t need to use props for your DIY product photography. Some popular marketplaces – eBay, for instance – don’t really like it. You see, props can make it unclear what product exactly you’re selling. Props are often used for food photography or promotional photos because they help create a specific vibe in an image. But your product photos should display only the item that you’re selling. This way, buyers won’t get confused. And with only the main object in the frame, it’ll be much easier for you to get a well-balanced composition.
That said, in some cases, it might be a good idea to add a prop for scale. Naturally, you don’t have to do this with each and every product. But you’ll need to add something for scale when it might be unclear for buyers how big or small a product is. For instance, a piece of jewelry or a handbag. One of the most common ways to do this is to photograph your product next to a ruler that clearly shows the length, the height or the width of your product. You can also use coins or maybe photograph someone holding your product.
Get a Little Creative
If you want to attract some attention, experiment a little. If you are selling variations of one and the same product, you can take a photo of these variations together. Say, you have two variations of the same ring – one with amethyst and one with amber. Take a photo of the two of them together! It’s possible that a buyer might come across the listing with the amethyst ring but will like the amber one better once they see it in your product photo.
Also, some of your photos can actually show the product in action. For example, you can take photos of a yoga mat being rolled out and someone actually doing yoga or stretching on it. You can photograph someone holding or drinking from the mug you’re selling. The benefit of lifestyle and actions photos is that they make it easier for buyers to visualize themselves using your product. Yes, this kind of photos can be harder to create, but they can also help you increase your sales. Take a look at your products and think how they can look most appealing in your DIY product photos.
How to Improve DIY Product Photos: Editing

It’s time to move on to editing! Let’s say that you imported images into your computer and realized that they look not as bright as you want, and the colors are slightly off and bleak. In this case, you might want to get some image editing software like Photoshop or Lightroom. In either of them you’ll be able to fix the exposure – make your shots brighter or darker, lift the shadows – and make the colors more saturated. If your background is kind of cluttered since you couldn’t find a proper monochrome one, you can use some AI apps to remove the background and replace it with plain white color. AI algorithms has made this task so much easier and less time-consuming.
Naturally, if you set up everything right, your product photos look good in camera, you won’t have to do a lot of editing. But there are still a couple of things that you’ll need to do before publishing your product photos online.
Make the File Size Smaller
It doesn’t matter whether you sell on eBay or your own website, your product photos should be optimized. In other words, they should take as little space on a server as possible. Images with a large file size take quite a while to load. We live in a world where instant gratification is often preferred, and the attention span is getting shorter and shorter… So, most people don’t like waiting. If your beautiful DIY product photos load slowly, your potential customers will leave before they get to see them.
Therefore, you should compress photos. When an image is compressed, redundant data is deleted, and the file size decreases drastically. A 10 MB image can easily become a 1 MB image. The quality loss will be insignificant and barely noticeable. However, if you go overboard, you will end up with a pixelated photo. If you decide to use Visual Watermark’s online image compressor, you should go for the “Better Quality” option. Alternatively, you can give a try to the “Specific File Size” option and enter the file size that you need.
Meet the Size Requirements
Online marketplaces tend to have specific size requirements that you need to meet. If your image is too small, it will look blurry and pixelated. If your image is too big, the platform will automatically decrease its size which will also result in blurriness and pixelation. For example, if your image is 400x400px and you want to upload it onto Etsy, you’ll need to upscale it to 1500x1500px first. On the other hand, if you have an image that’s 5000x5000px, this is too big of an image size. You’ll need to reduce it to 2000x2000px. Fortunately, there are image resizers that allow you to make an image both smaller and bigger.
Some marketplaces also prefer specific aspect ratios. For example, both eBay and Etsy love the 1:1 aspect ratio. Usually, an aspect ratio is changed with the help of cropping. Thus, you might need to crop your DIY product photos to use them for your listings. Fortunately, Visual Watermark’s online “Crop Photo” app allows you to crop images to specific aspect ratios as well as resize them. To put it simply, your cropped photos will have the necessary aspect ratio and the necessary image size!
Protect and Promote
In some cases adding text to product photos can look great and eye-catching. It’s a good way to stand out from the crowd and promote your products or online shop on social media. You can add captions or headlines, describe what it is exactly that you’re selling.
What you can also do is to watermark your product photos. Watermarking is a great way not only to protect your photos from unauthorized use – unfortunately, image theft is rather uncommon on online marketplaces – but also to promote your brand. For promotional purposes it’s better to add a logo to photo and use it as a watermark. You want people to see your brand logo as often as possible –this way they will remember it better and associate it with your products.
However, please note that it’s vital for you to check the rules and policies of the marketplace where you have your shop. For instance, eBay doesn’t like any text, watermarks or logos on product images. They can actually take down your listing for that. On the other hand, you can find plenty of listings on Etsy that contain images with text.
Conclusion
Now you know how you can improve your DIY product photography. Hiring a professional photographer isn’t necessary. With the right equipment and by utilizing some tips and tricks, you can get great results on your own. Don’t be afraid to get a little creative, but also, make sure to follow the necessary rules and policies if you sell on a popular marketplace like eBay, Amazon or Etsy. And remember that with time and practice, your product photos will get even better and more amazing!
Photo Editing Tutorials
How To Watermark Instagram Photos
How To Watermark Photos on Android
 Visual Watermark
 by
by 