
 by
by By captioning your photos, you can make your work more engaging and easier to understand. The main purpose of a caption is to explain and clarify. But it can also be used to add a personal touch, which, in turn, can make your image more impactful and meaningful. You can include any information you want and style your captions as you desire.
Fortunately, it’s quite easy to caption your photos. There’s no better app for this than Google Docs. It’s free, beginner-friendly and works online. In this comprehensive guide you’ll find out what a caption is and why you shouldn’t neglect it. We’ll also walk you three easy yet slightly different methods to add a caption to a photo in Google Docs. All of them require only a few minutes of your time. No matter which method you go for, though, you’ll be able to achieve the desired results without any additional tools or even designing skills.
What Is a Caption?
A caption is a short piece of text that provides context or some other information about an image it accompanies. In most cases, it’s placed underneath a picture. But sometimes it might also be above, to the left or to the right. Some people even opt for inserting their caption into an image.
Usually, a caption communicates important details or explains what’s shown in a photo. With it, it’s also possible to organize a document better. Say, you used a Screen Recorder to create a video, then made a bunch of stills from it, and now you want to use these stills in a presentation. Captions will definitely help you bring in more structure into your slides. They can:
- Identify people, places, or objects in the photo
- Explain what the image represents
- Add personality or commentary
- Provide credit or source information.
Captions are extremely helpful when images are used for storytelling, data presentation, reports, or educational content. You can come across them in business presentations, creative writing, blogging, social media posts, etc.
Why You Should Add Captions in Google Docs
Here are a few reasons why you might want to add a caption to a photo in Google Docs:
- Clarity. A caption can help the reader understand your image by providing the necessary context. Your caption can include such info as where and when a photo was taken, why the place in the photo is significant.
- Professionalism. It’s a great way to make your reports and documents look more polished and organized.
- Referencing. In academic, technical, or scientific writing, labeling images as Figure 1, Figure 2, etc., makes it easier to reference them throughout your text. Additionally, you can add a citation or give credit to the author in your caption.
- Accessibility. Captions make it easier for screen readers and accessibility tools to describe image content to users with visual impairments. On top of that, you can use photo captions for improving your SEO – just remember to include relevant keywords.
- Emotional impact. One of the efficient ways to boost your audience engagement is to add emotionally-charged captions to your photos. It’s also a great way to show your personality. So, don’t be afraid to be witty or funny, dramatic or sarcastic. Remember that a well-written caption can really draw attention and spark curiosity.
Useful Tips
Here’s what you need to keep in mind when adding a caption to a photo:
- If you have multiple images, it’s better for your labels to be consistent (Figure 1, Figure 2, etc.).
- Your captions should be concise. No more than 1–2 sentences.
- Add credit or source info if needed.
- Experiment with different methods to find the one that suits your document best.
There’s something else you need to know. It takes only a couple of clicks to insert a picture into a document. But since Google Docs doesn’t have a tool specifically for captioning photos, you will need to use some workarounds. Don’t worry, though. There are a few methods that will allow you to achieve the necessary result. Minimum effort and no prior designing experience are required.
The Simplest Way to Add a Caption to a Photo in Google Docs
This first method is ideal if you are really short on time or if you’re dealing with some informal documents. It’s straightforward and requires only a couple of minutes, if not less.
Follow these simple steps:
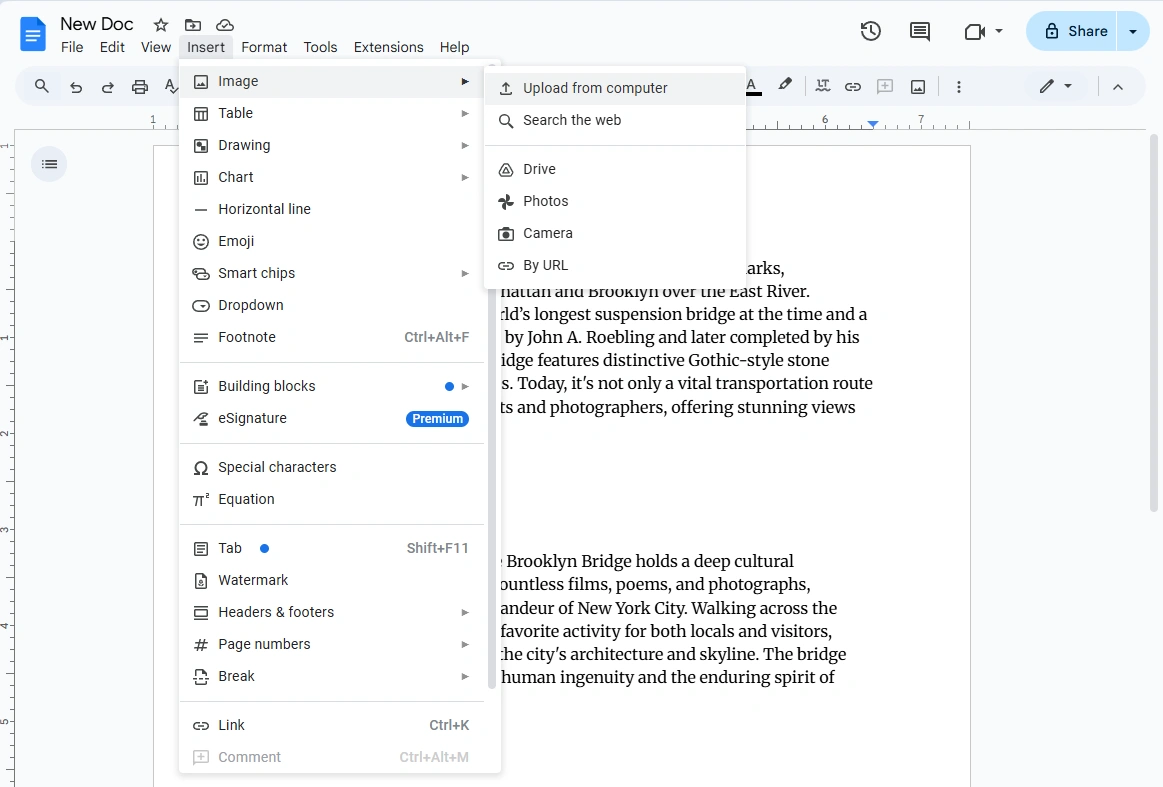
- Open the necessary document in Google Docs, then go to Insert > Image. Choose where to upload your image from (e.g., “Upload from computer”, “Search the web” or “Drive”).
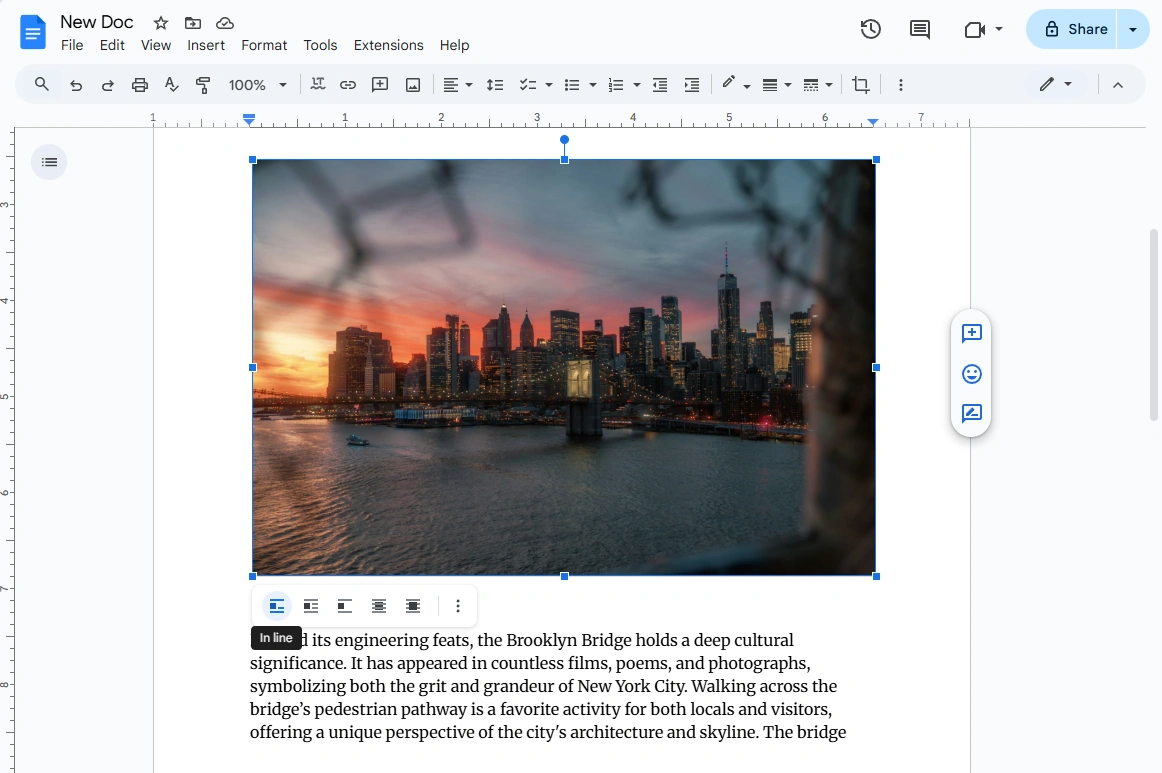
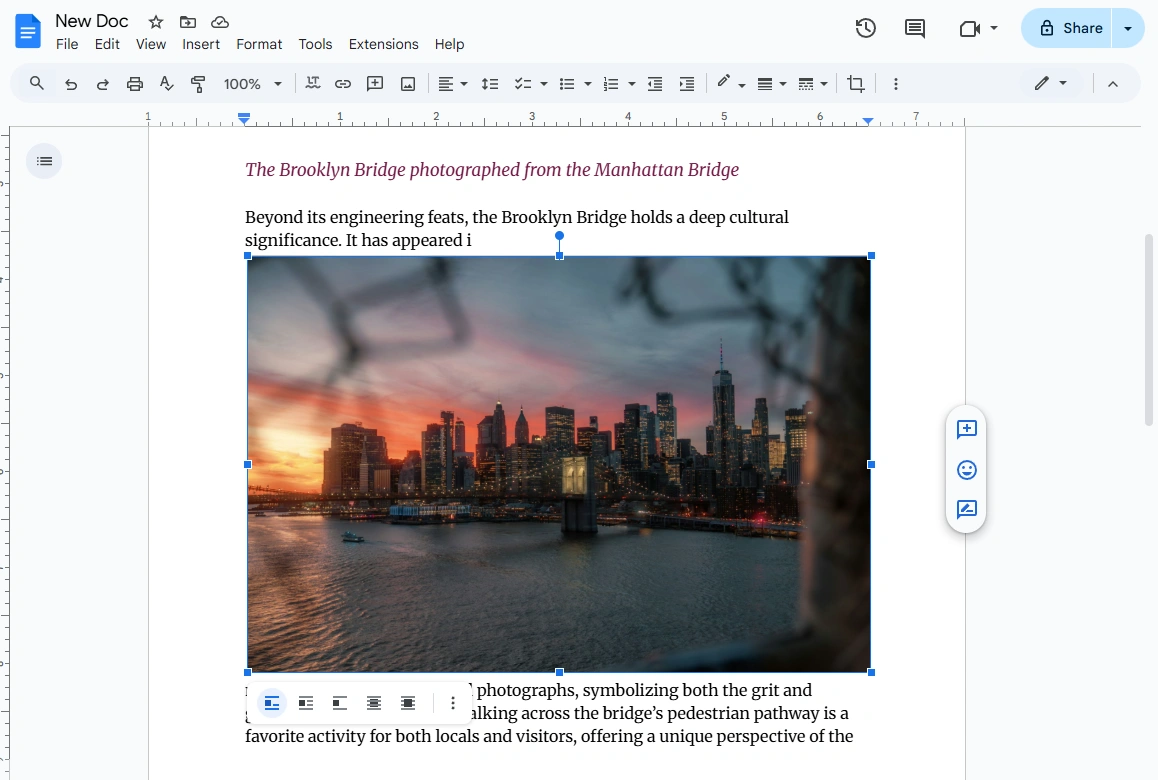
- Next, click on your imported image and choose the In line option.
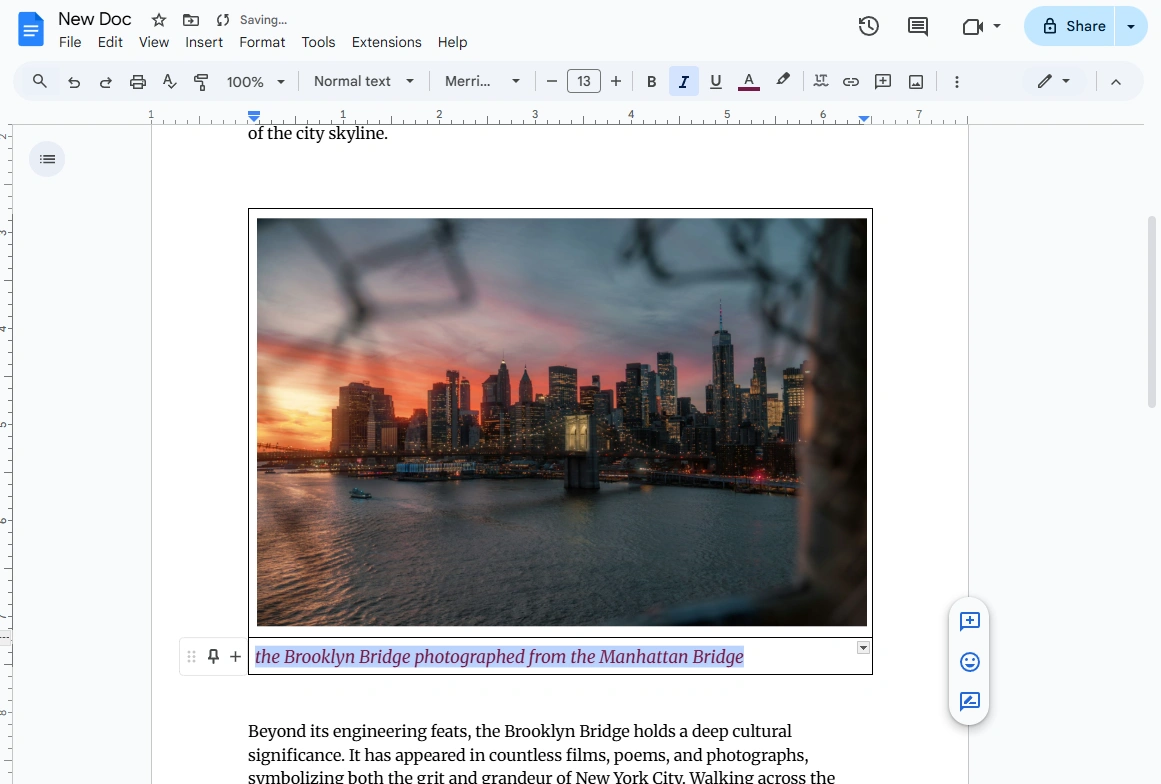
- Click below the image and type in your caption.
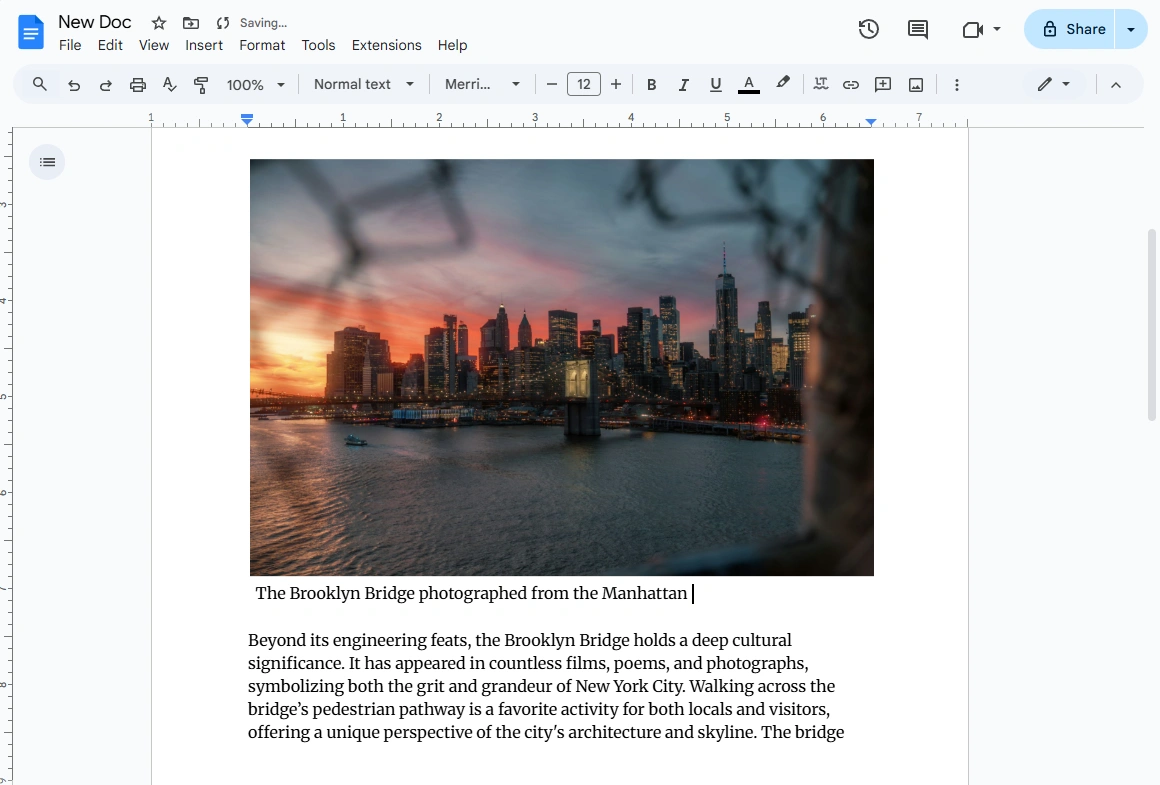
- Your caption might be slightly misaligned with the image. Use the spacebar to fix this.
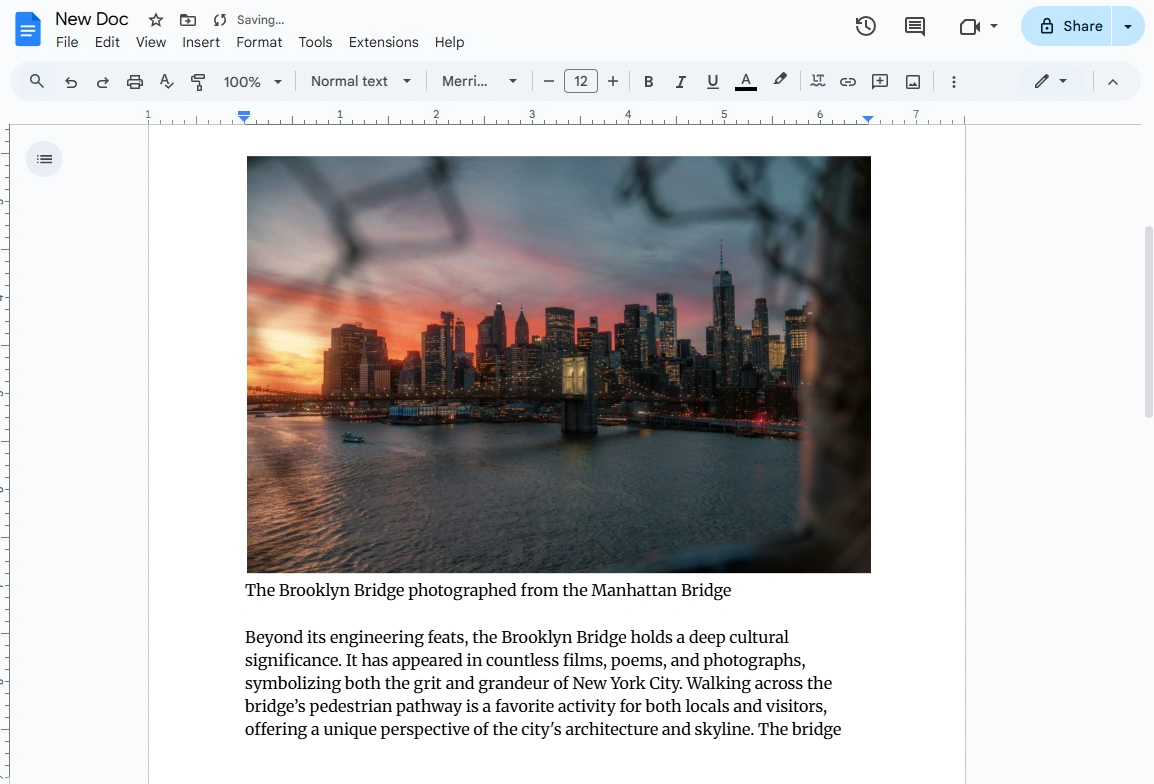
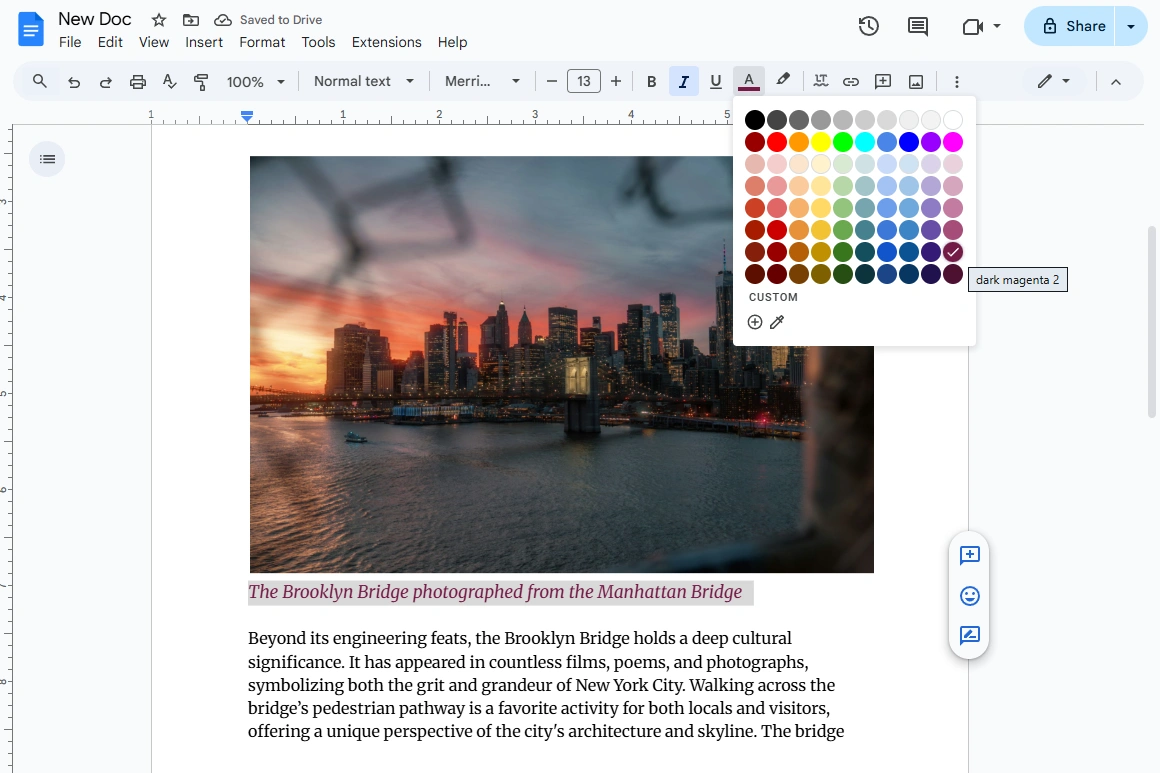
- Select your caption with the cursor, then format the text using the toolbar at the top: ◦ Center the caption using the Align center button ◦ Pick a different color or font ◦ Italicize or bold the caption for emphasis.
 The changes will be saved automatically.
And voila! You’ve just captioned your photo.
But this incredibly simple method has a drawback. Your caption won’t be attached to your photo. In other words, they will exist as two separate items in your document. Thus, if you reposition your image, the caption won’t go anywhere. It will remain on the same spot until you reposition it, too.
Repositing several images and their captions, one after another, will be quite tedious, for sure. Fortunately, you can use a different method.
How to Add a Caption to a Photo in Google Docs and Keep It Attached
You should go for this second method, which is also super quick and easy, if you need to keep the caption attached to your photo. This can be achieved by creating a table. Here’s what you’ll need to do:
- Open your document, find the necessary spot and place your cursor there.
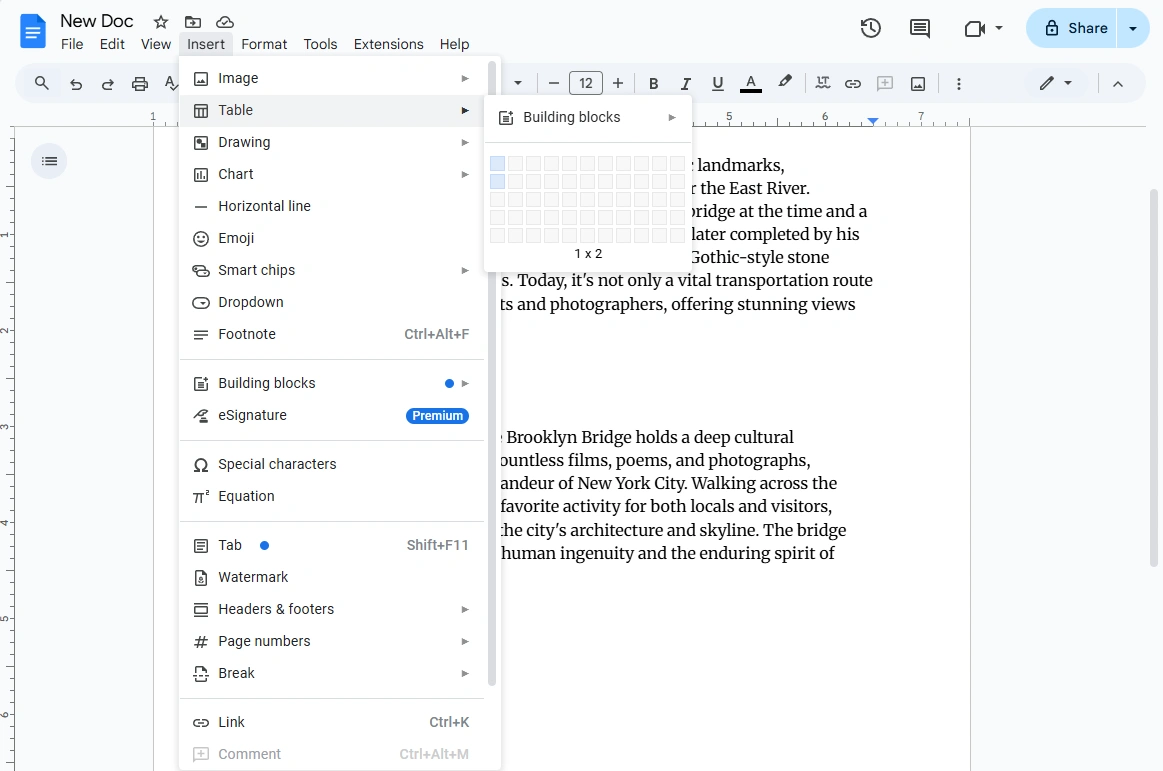
- Go to Insert > Table and choose a 1x2 table. This will create a table that consists of one column and two cells.
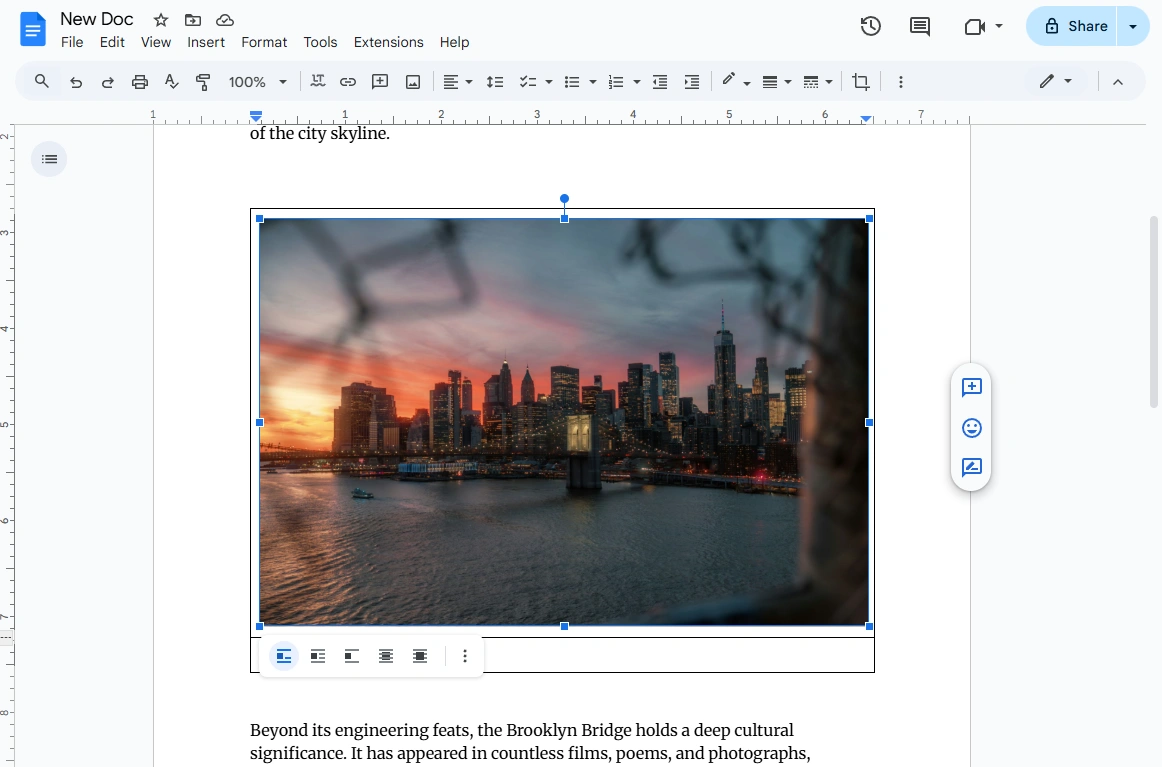
- Insert your image into the top cell. This can be done by going to Insert > Image. It’s also possible to drag a photo into the top sell if you’ve already imported it into your document.
- Next, enter your caption into the bottom cell. With the help of the toolbar at the top, format the text as needed.
- Now, you need to make your table invisible. Navigate to Format > Table> Table options.
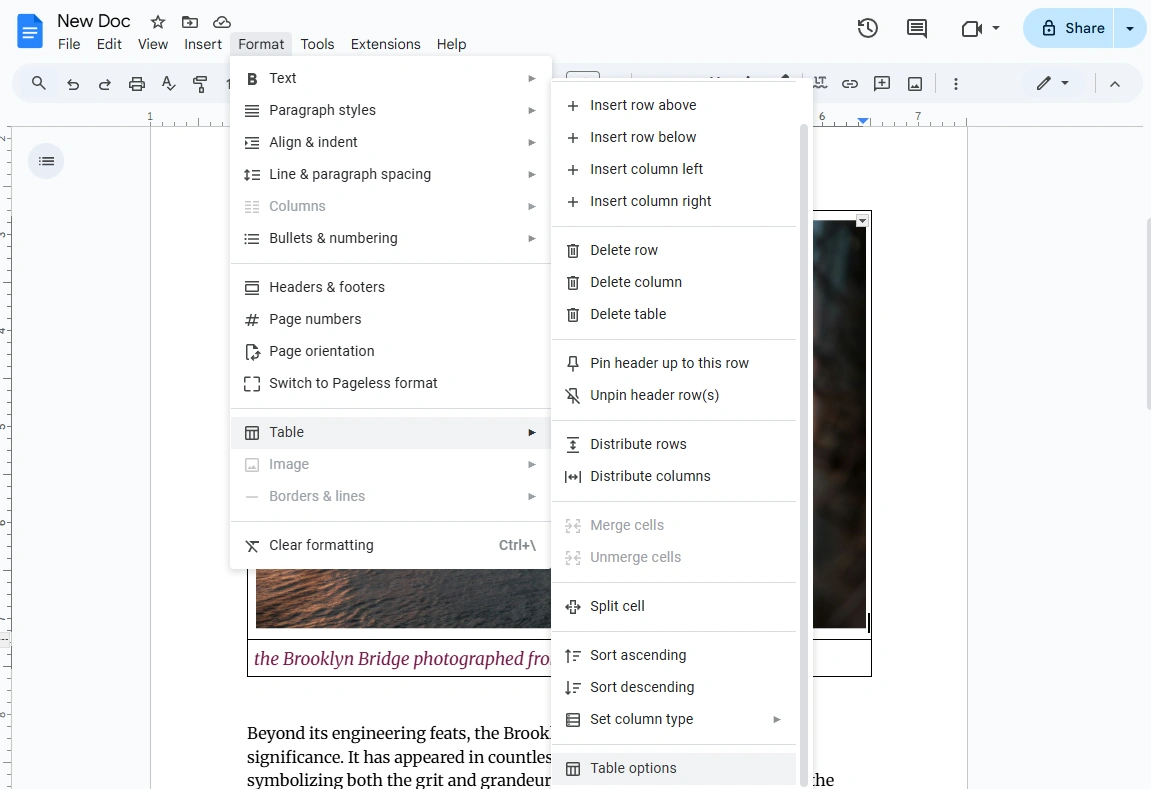
- Open the Color section and set the Table border to 0 pt.
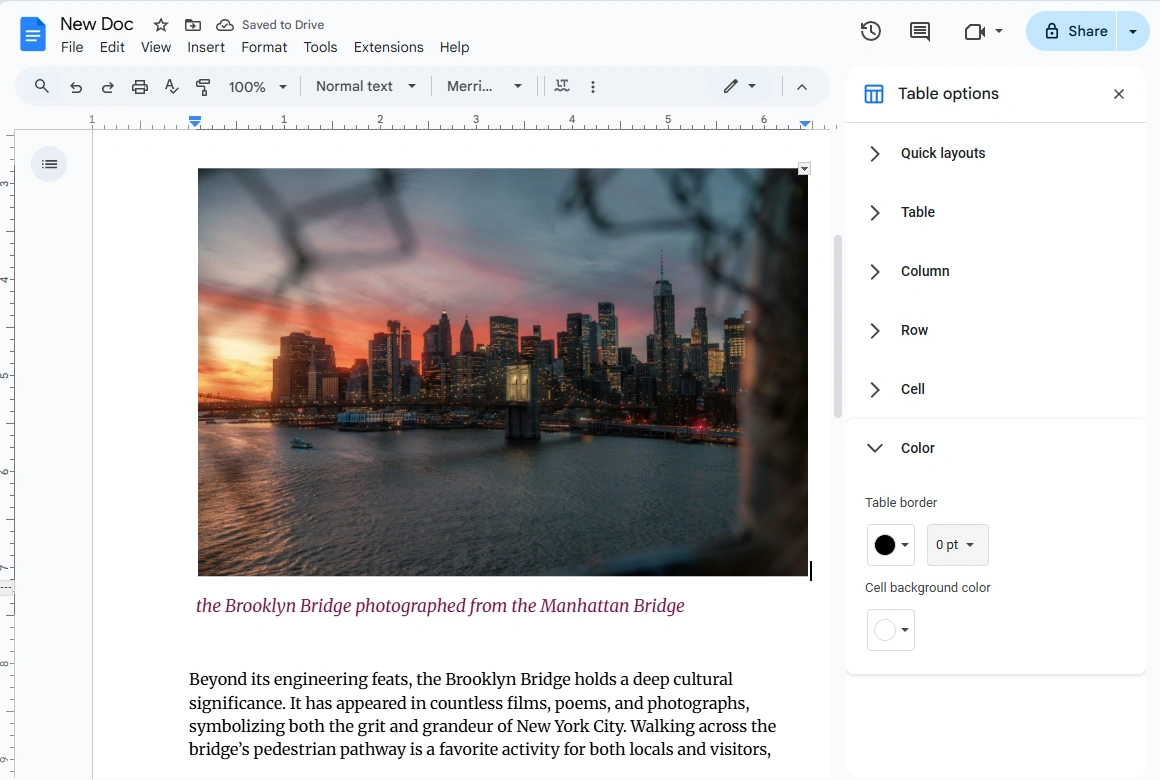
- Apply the changes by closing the Table options.
And you’re good to go! Now, your caption will be attached to your photo.
Just keep in mind that if you need to move your image with the caption to another spot within the document, you will need to reposition your invisible table.
How to Add a Caption to a Photo in Google Docs and Get a Bit Creative
You should go for this third method if you want to keep your caption attached to your image and style it beautifully. It requires a bit more time than the other methods in this guide, but it’s still pretty hassle-free.
So, open your document in Google Docs, then do the following:
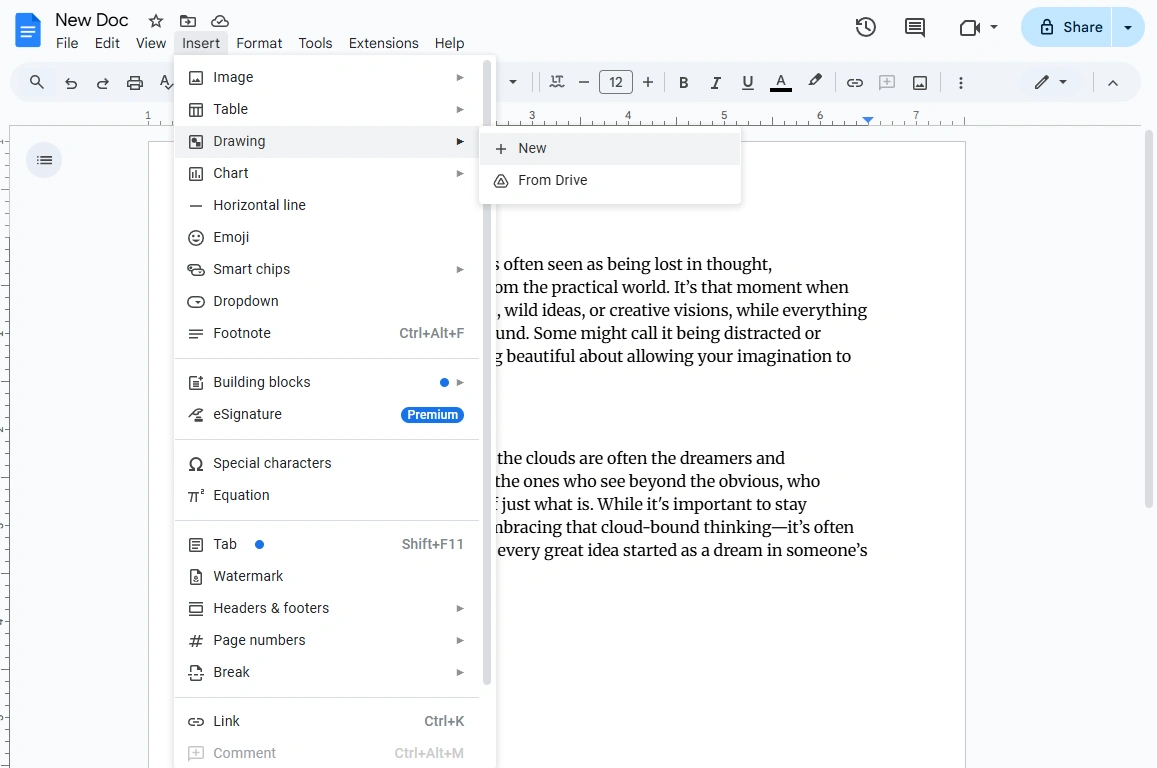
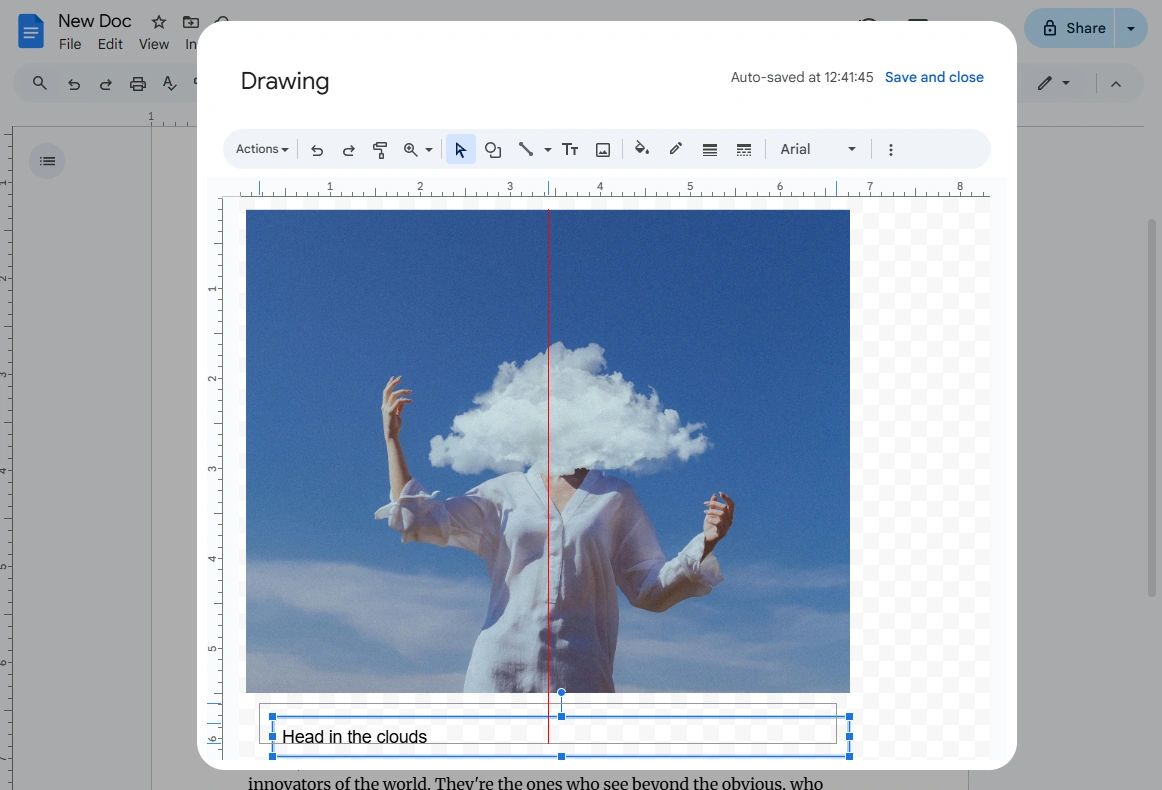
- Place your cursor on the spot where you want to insert your photo and caption, then go to Insert > Drawing > New.
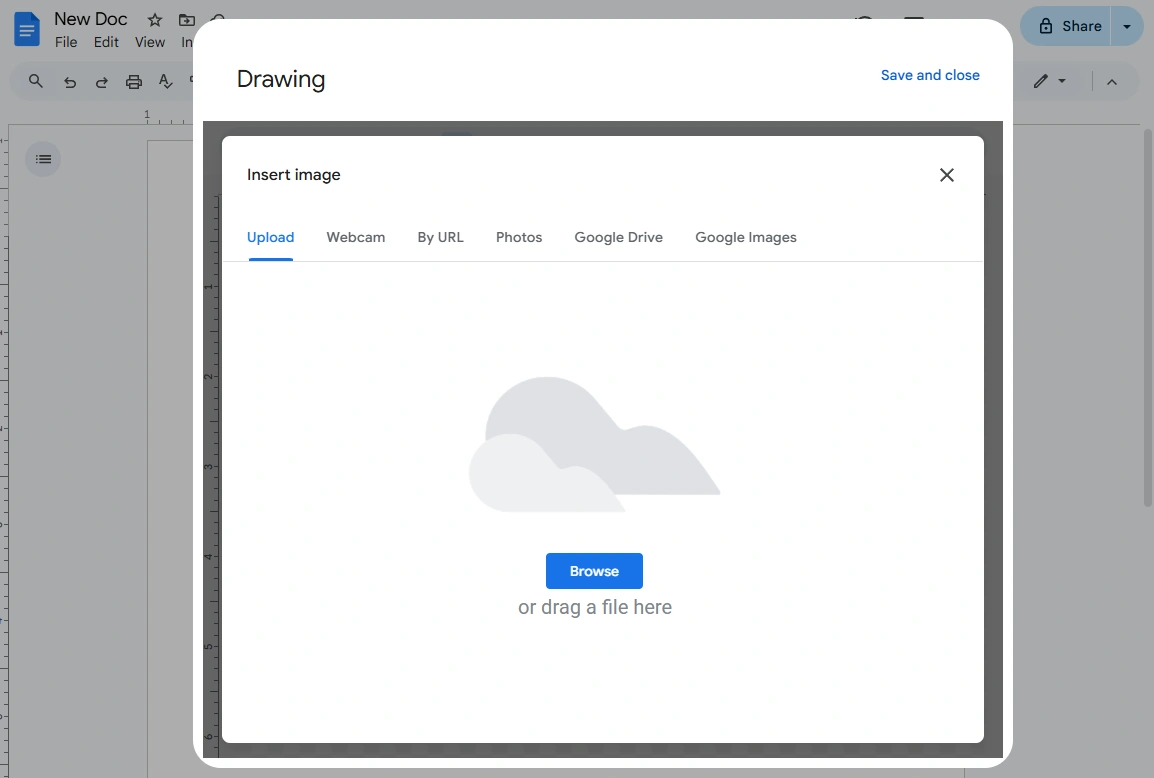
- You will see a blank canvas in the Drawing window. Click on the image button at the top.

- Select where you want to import your photo from and upload it.
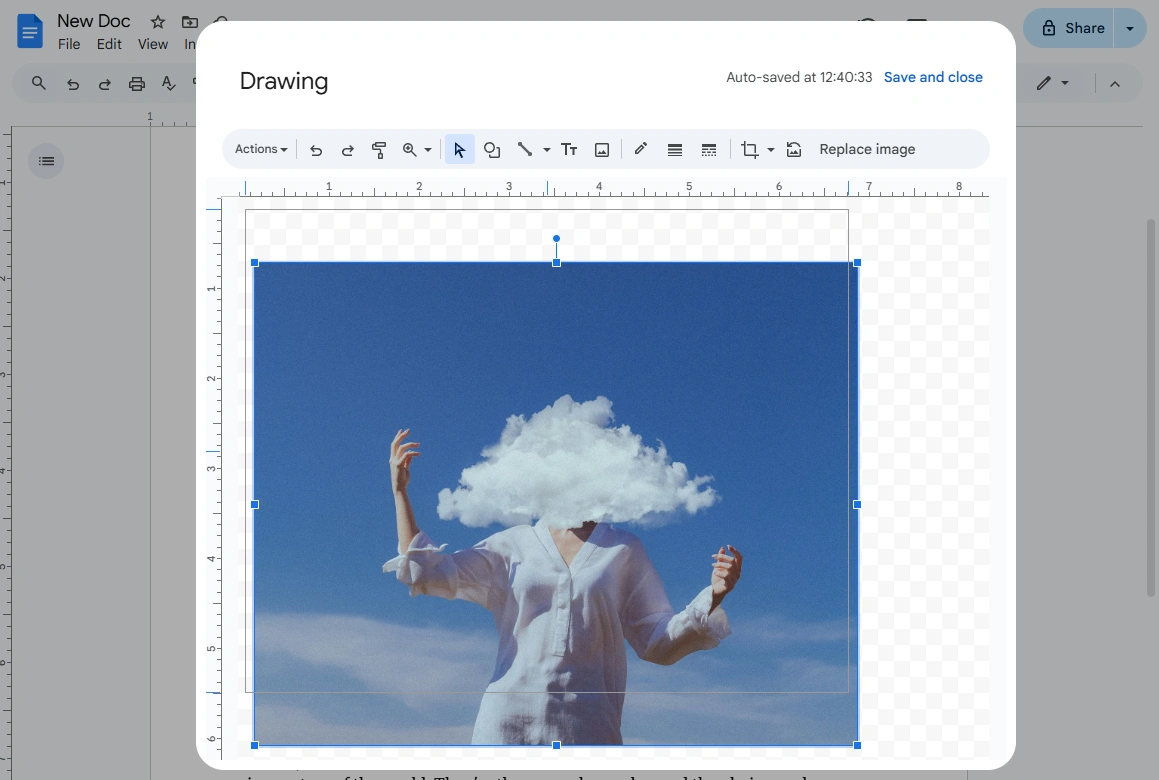
- Once your photo shows up on a canvas, position and resize it as needed.
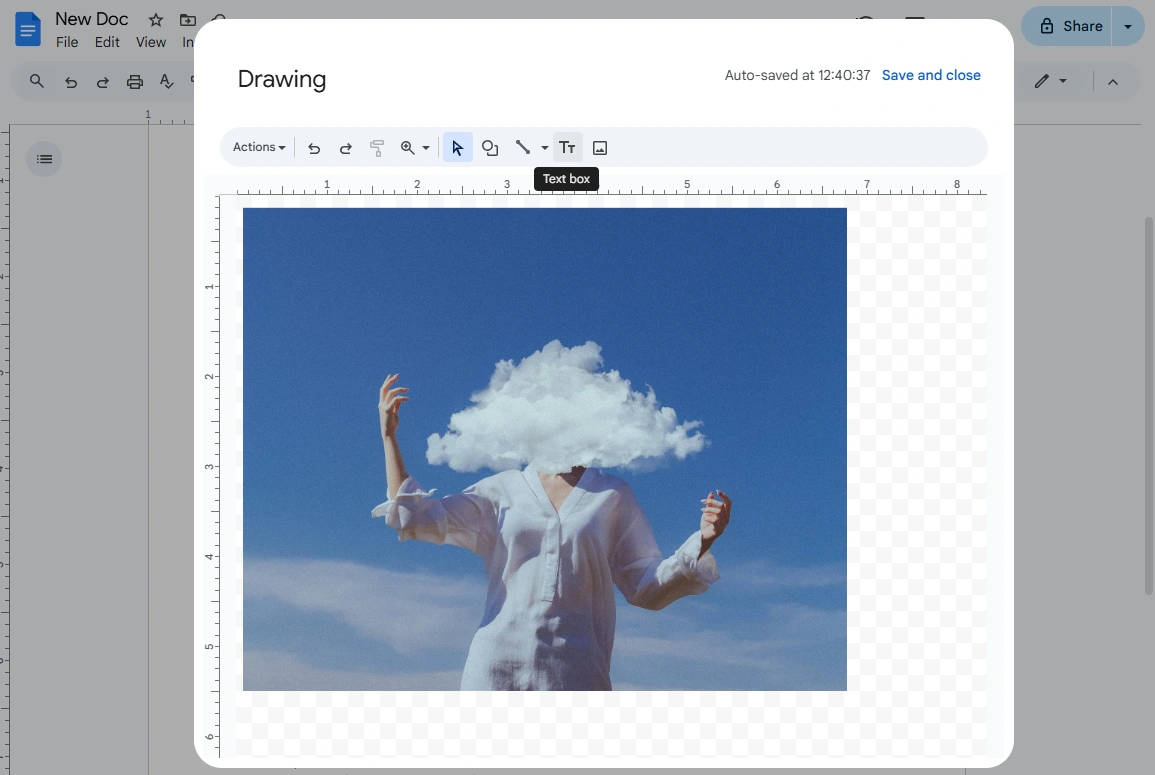
- Next, click on the text button at the top.
- Click under your photo. Once a text box appears, enter your caption.
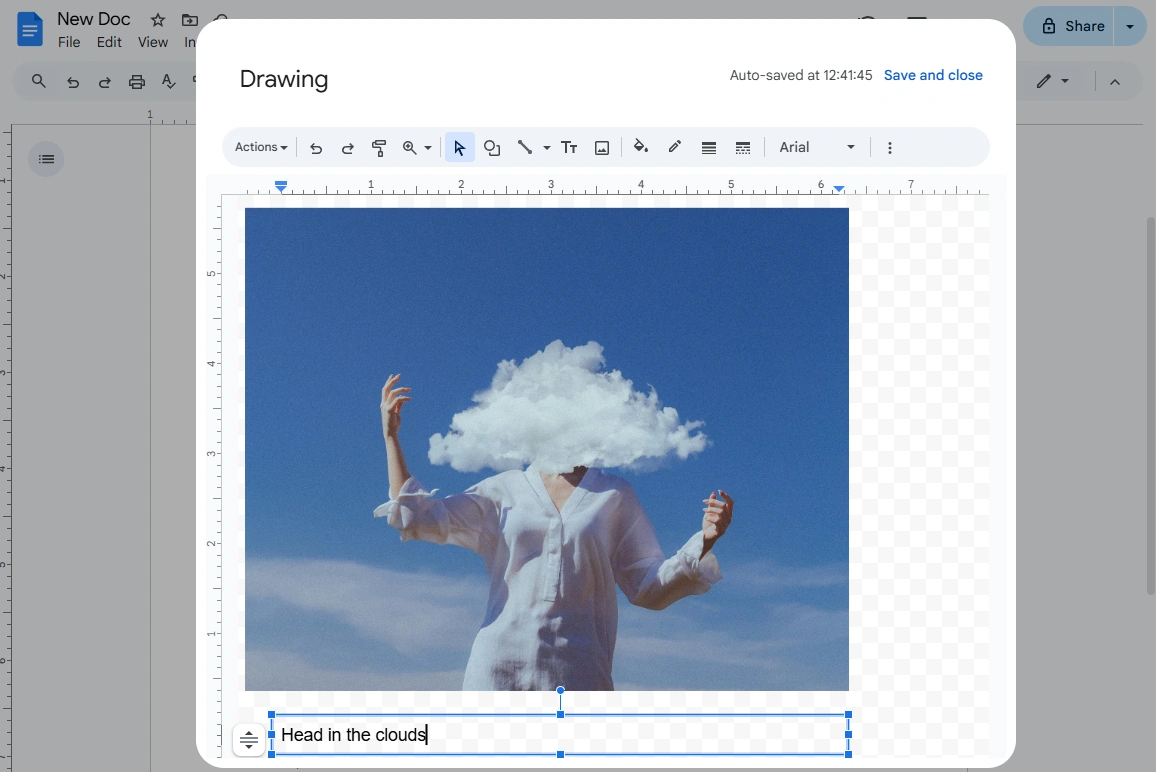
- Adjust the size and placement of the textbox.
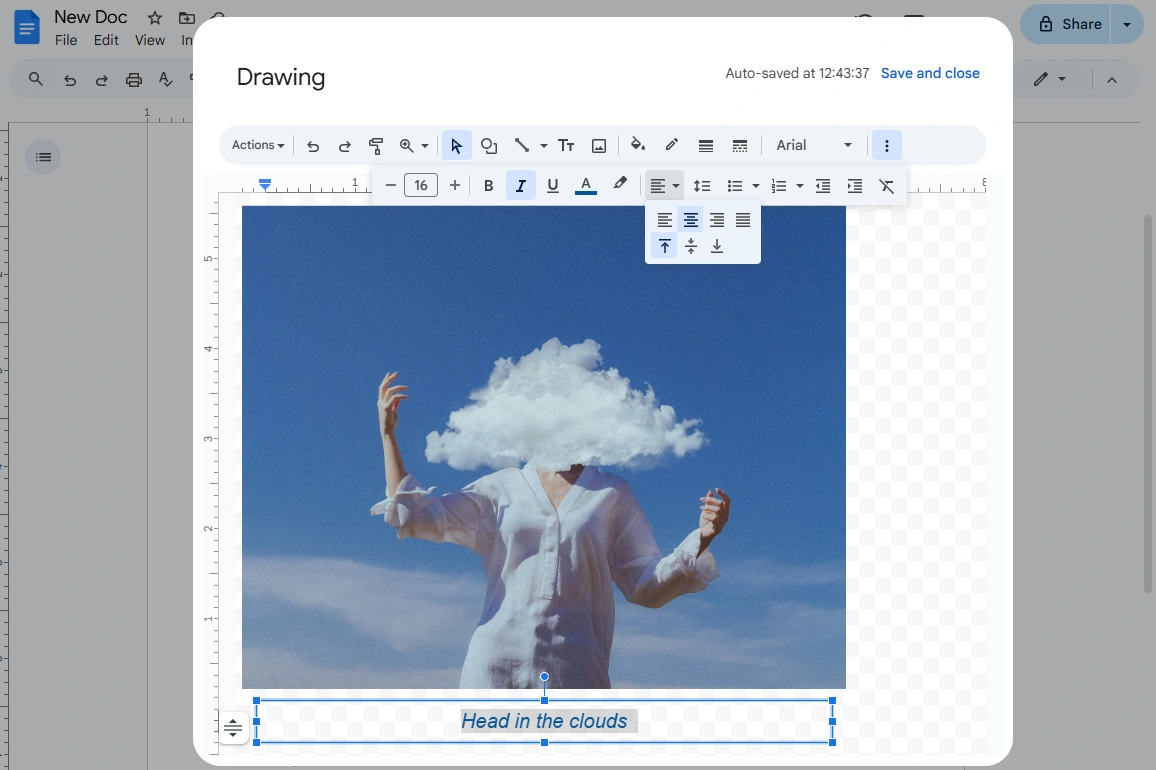
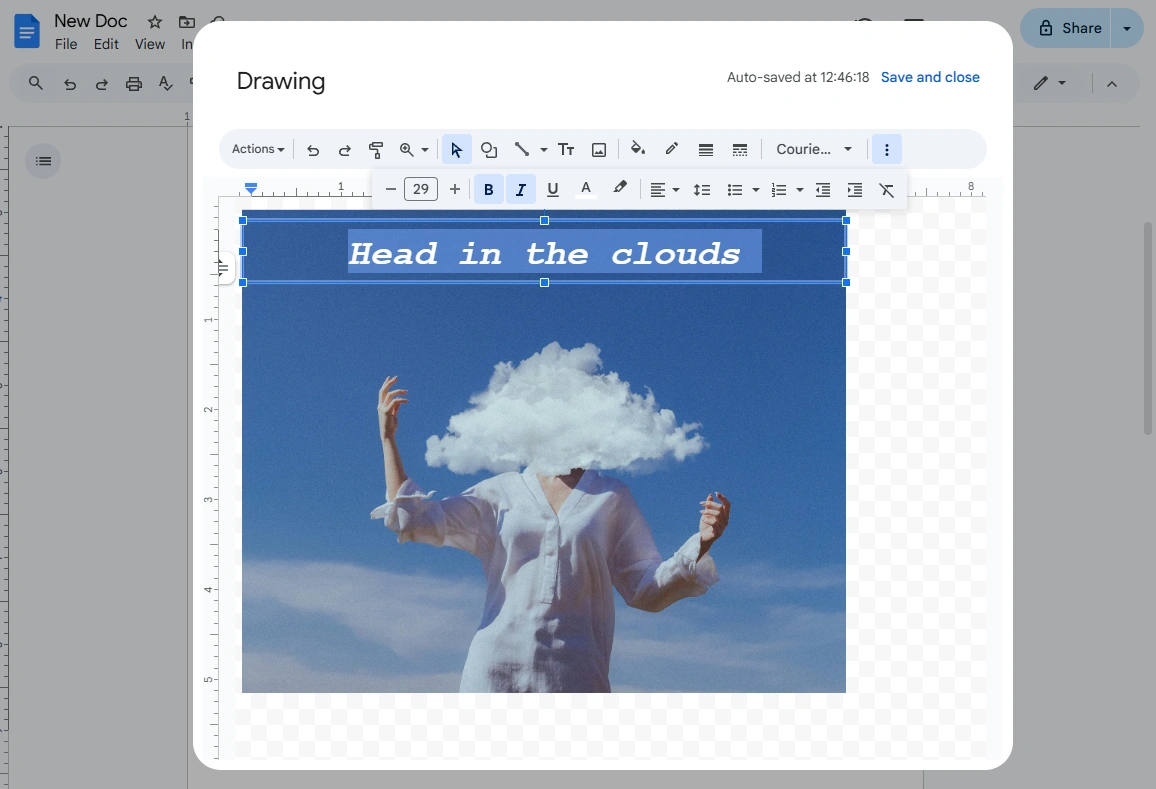
- To style your text, select it with the cursor first. You can also use the CTRL + A (Windows) or CMD + A (Mac) shortcut to quickly select all the text in the text box. Then use the necessary formatting options in the toolbar. Please note that some options are hidden – click on the three vertical dots to view and use them.
- Click on Save and Close, when you’re done with editing your image and text.
- To make any changes to either the caption or the photo, double-click on them to re-open the Drawing window. Then make your further edits.
And that’s all there’s to it!
This third method actually has two advantages:
- Your photo and your caption will exist as a single item in your document. Therefore, you will be able to reposition both of them at the same time, if necessary.
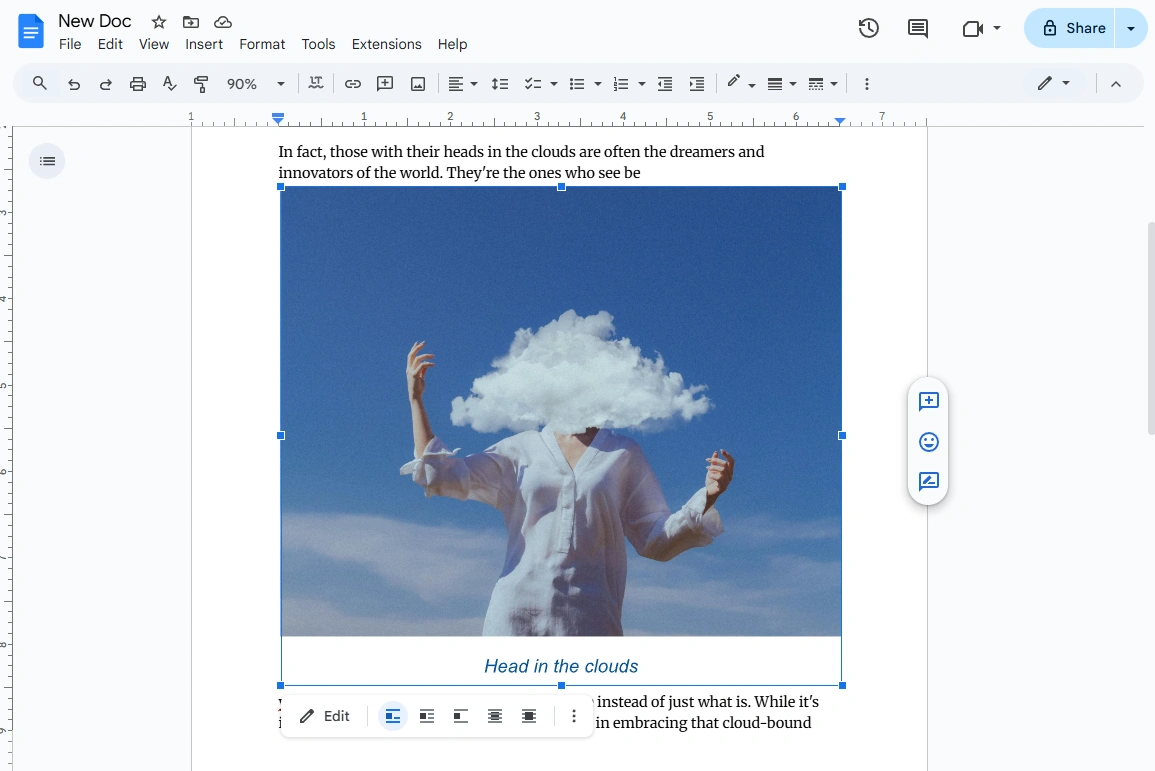
- You’ll be able to experiment with the positioning of your caption. The two previous methods allow you to place your caption below or above your image; maybe, to the left or right, as well. But here you can actually place your caption right on top of your image.
Insert a Caption Into a Photo Using Visual Watermark
Image captions are supposed to make things clearer but, in some cases, it might be confusing which caption accompanies which image. This issue can be tackled if you place your caption right on top of your image.
As it has been mentioned, you can easily achieve this using the Drawing method. But the toolkit for styling text in Google Docs is somewhat limited. You won’t be able to get extremely creative with it. Fortunately, there’s an alternative – you can use Visual Watermark.
Visual Watermark’s website offers two apps that you can use for captioning your photos:
First, you can use the Add Text to Photo app, which allows you to add text or an image to a single photo. It works in a browser, so you will only need a stable internet connection.
Second, there’s also a watermarking app that supports batch-processing. This app works similarly to the first one except that you can use it to process a batch of images. Additionally, there’s a desktop and a browser-based version. However, please note that this second app allows you to add one and the same text to your photos. So, if you need to add different captions to your pictures, you will still need to process them one by one. Learn more here - How to watermark photos.

The main advantage that Visual Watermark has over Google Docs is that here you will have much more creative freedom when formatting your text. You will have access to:
- A broad library of fonts
- Solid and gradient colors
- Various effects including shadow and monochrome backgrounds.
In addition to that, you will be able to:
- Rotate your text
- Adjust its transparency
- Add sequential numbers.
So, if you want to get creative when designing your caption, it might be a good idea to add your captions to your photos using Visual Watermark, then insert your pictures into the necessary document in Google Docs.
Conclusion
Now you know how to add captions to photos in Google Docs in three different and simple ways. This process takes only a couple of minutes, yet it’s incredibly beneficial. Image captions can not only provide clarity, but also make your content more impactful, organized and reader-friendly. Especially if you get a little creative with the wording and text formatting. Whether you’re writing a creative piece, a business report or an academic paper, you should caption your images to present them in the best light.