
 by
by When you need to use images in web design, presentations, or even on social media, a transparent background is often a must. It allows you to overlay graphics or insert logos without an unsightly solid-colored box. Luckily, you can easily remove an image background and replace it with transparency using GIMP – a powerful and open-source image editor. The best part? It’s completely free!
How exactly can you make the background transparent in GIMP? Well, the key thing that you need to do is make a selection of everything that should be kept. Then delete the background. This may seem intimidating. And it can, in fact, be a somewhat difficult task. But the level of difficulty actually depends on the complexity of your image.
Some methods in this guide require you to select the background, other involve selecting the subject, then inverting the selection. Thus, the more complex the background or the subject, the more challenging it will be to select it.
Do you need to select a plain grey background that doesn’t have much details? That’s easy-peasy! Do you need to select a subject with stray hair or fur? That’ll require some time and precision. As a matter of fact, making a selection in GIMP is extremely similar to cutting out an object in Adobe Photoshop. So, if you’ve ever done that before, things might be easier for you.
In this comprehensive guide, you’ll learn how to make a background transparent in GIMP in 5 different ways. Some of them are easier and quicker than others. But no matter what your skill level is or how complex your image is, you will surely be able to get the desired results.
Why You Should Make the Background Transparent
You might be wondering what is even the point of a transparent background. But, you see, it opens up countless creative possibilities:
- Seamless Incorporation. Do you need to add your logo to a photo, website header or a business card? Or maybe you want to add a watermark to a video? If your logo has a transparent background, it will blend in naturally with any background – whether it’s white, black or patterned.
- Visual Appeal. Images with transparent background tend to look cleaner and more polished. Do you need to focus the attention on the main subject in your product photos, an illustration, or a logo? Remove the background!
- Perfect for Collages. Transparency allows you to combine multiple images and layer elements without worrying about messy overlaps or clashing background colors. This can be extremely useful when making photo collages, or designing posters, flyers, and social media graphics.
- Versatile Use. Once you make background transparent, you can fill it with a solid color or a gradient, or replace the original background with a more striking one. Moreover, if you export the image with transparency, you’ll be able to use it in an array of different projects.
Alright, are you ready to learn how to make background transparent in GIMP? Let’s get started!
Add an Alpha Channel
The very first thing you need to do is make sure your image has an alpha channel. This is crucial because layers don’t automatically include transparency in GIMP. If you don’t do this, the background won’t be transparent once you remove it.
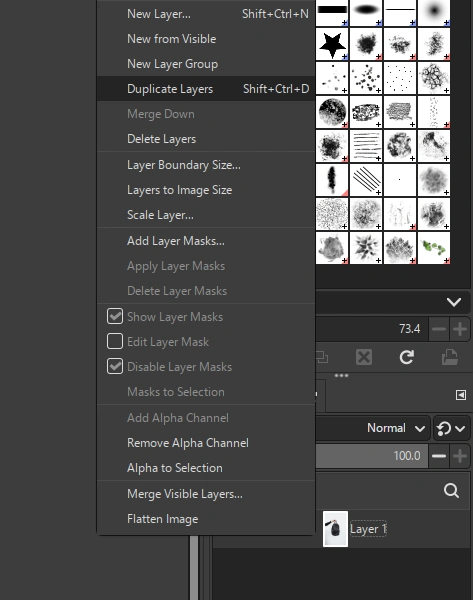
So, open the necessary photo in GIMP, then right-click on the Layer 1 in the Layers panel, which can be found in the lower right. Please note that this layer will probably be named after the file name – we changed the name to Layer 1 to make things easier.
In the drop-down menu, select Add Alpha Channel.
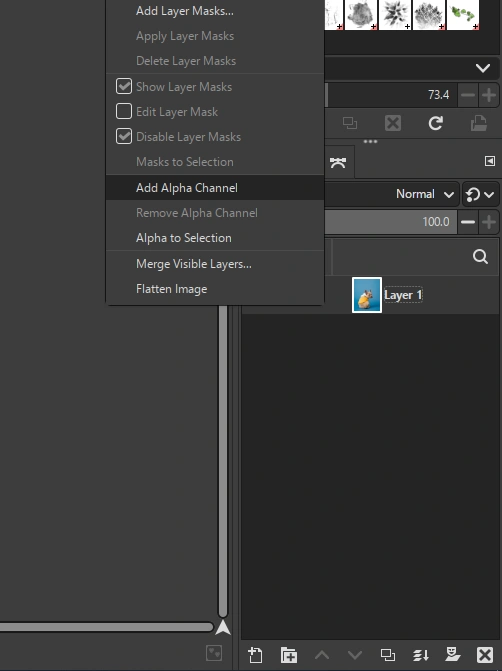
If this option isn’t available – it’s greyed out – then the alpha channel is already added.
Now, you can get to making the background transparent!
How to Make Background Transparent in GIMP with the Fuzzy Select Tool
Alright, let’s start with the first method that involves selecting the background using the Fuzzy Select tool. With it, you will be able to create a selection of pixels that are similar to a sample selection. This method works well for backgrounds that consist of one solid color or vary in color slightly.
Follow these steps:
- Open your image in GIMP and add an Alpha Channel using instructions above.
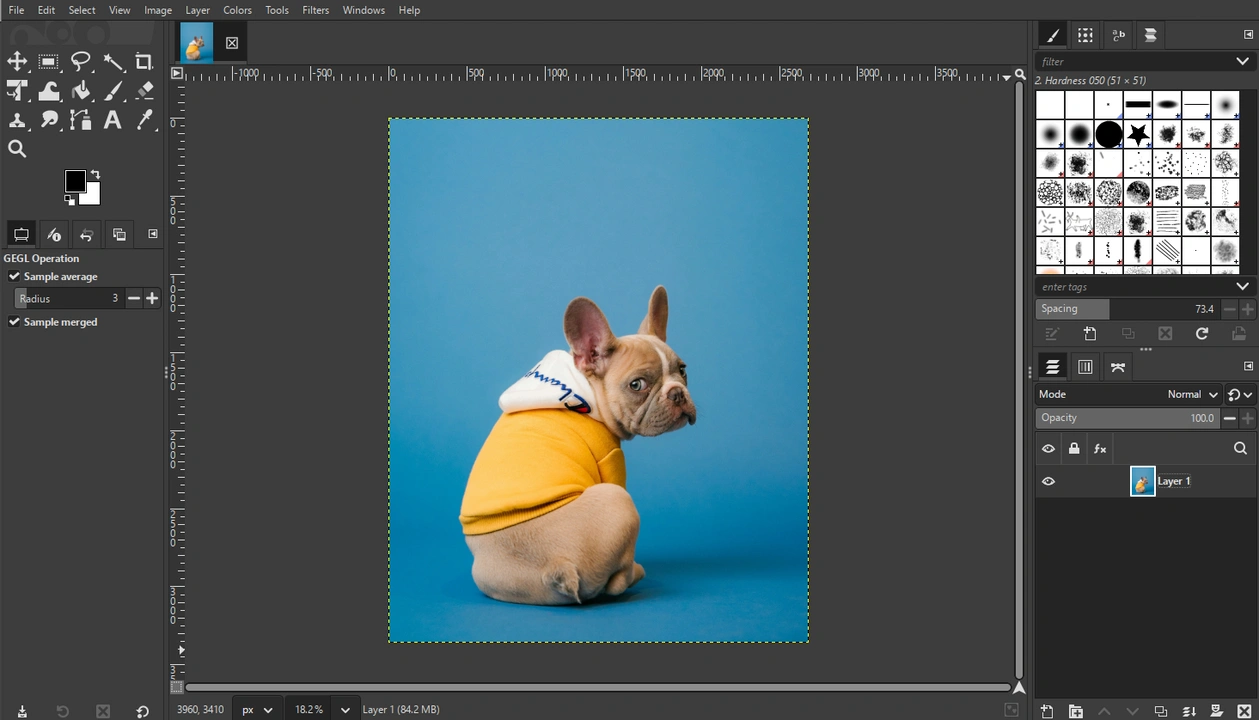
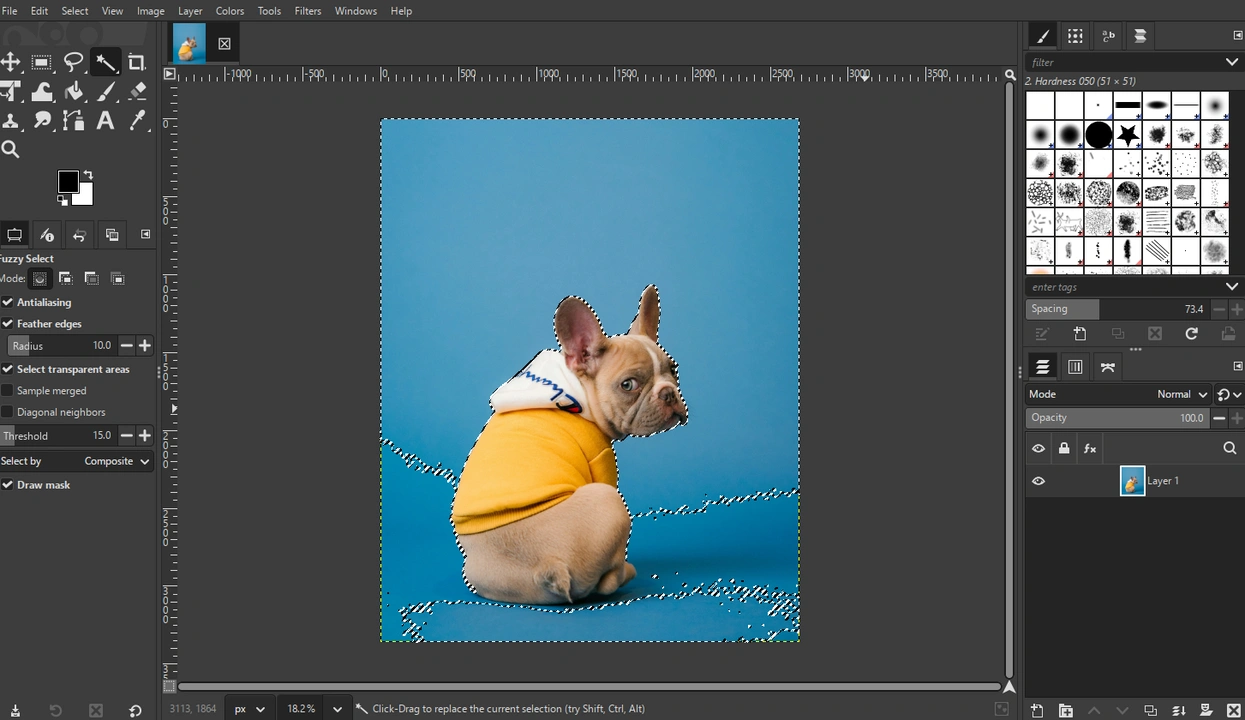
- Select the Fuzzy Select Tool (its icon looks like a magic wand).
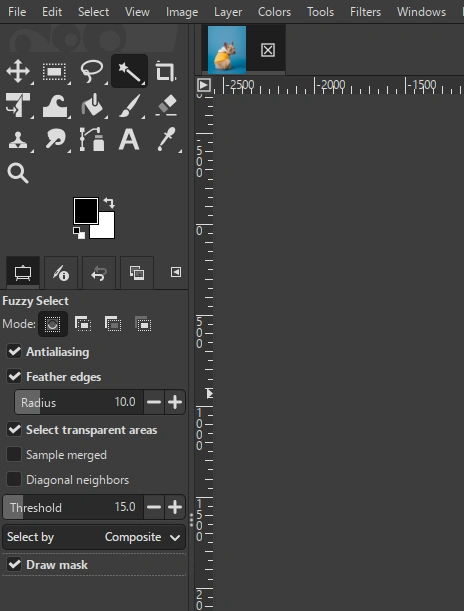
- Tick the Antialiasing, Feather Edges and Draw Masks options.
- Click on the background to make your selection. Adjust the threshold by dragging the cursor down to increase or up to decrease it.
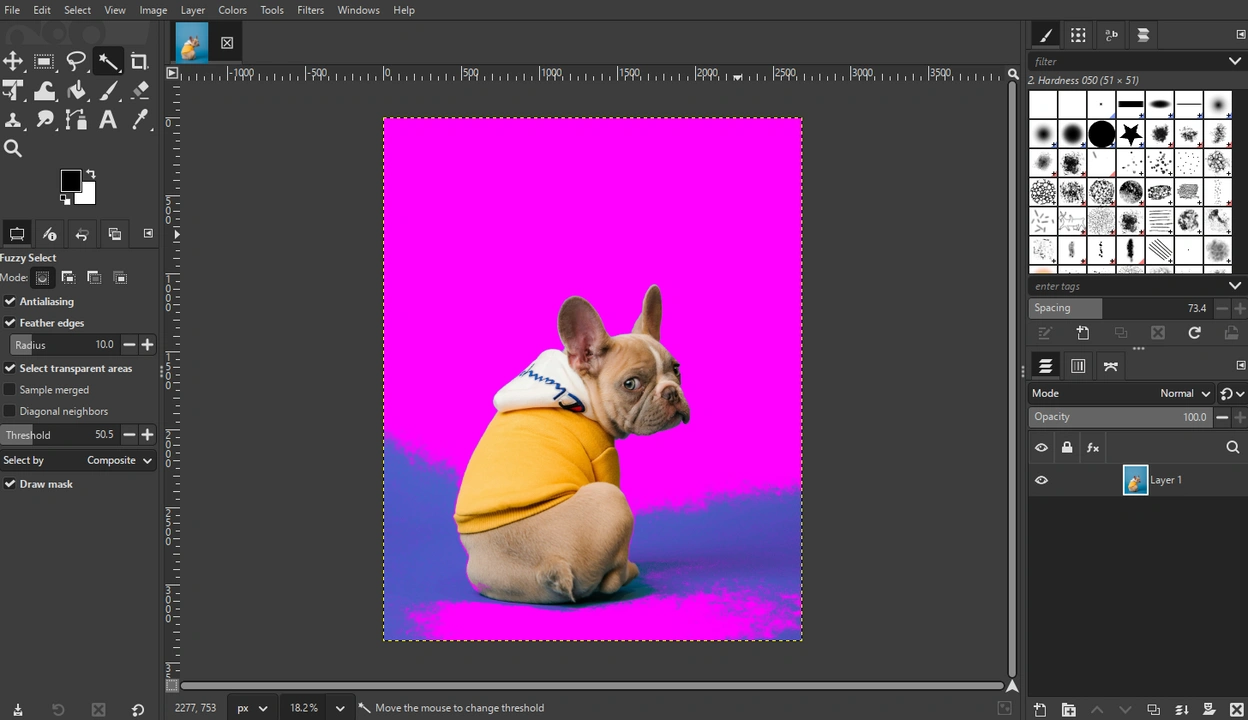
- When you’re done, release the mouse button.
- Press the Delete key to delete the pixels within the selection.
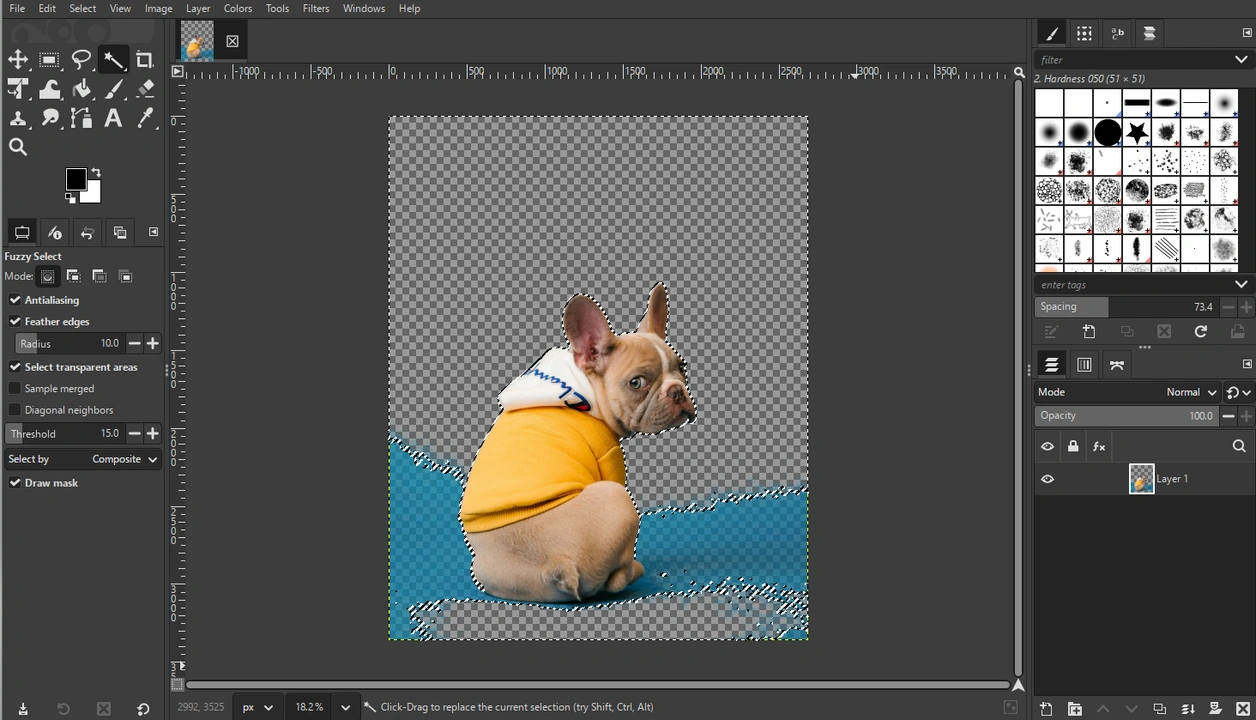
- Repeat this process until you remove the entire background. Also, if you need more precision, you might need to zoom in, then select the leftover bits of the background.
That’s it!
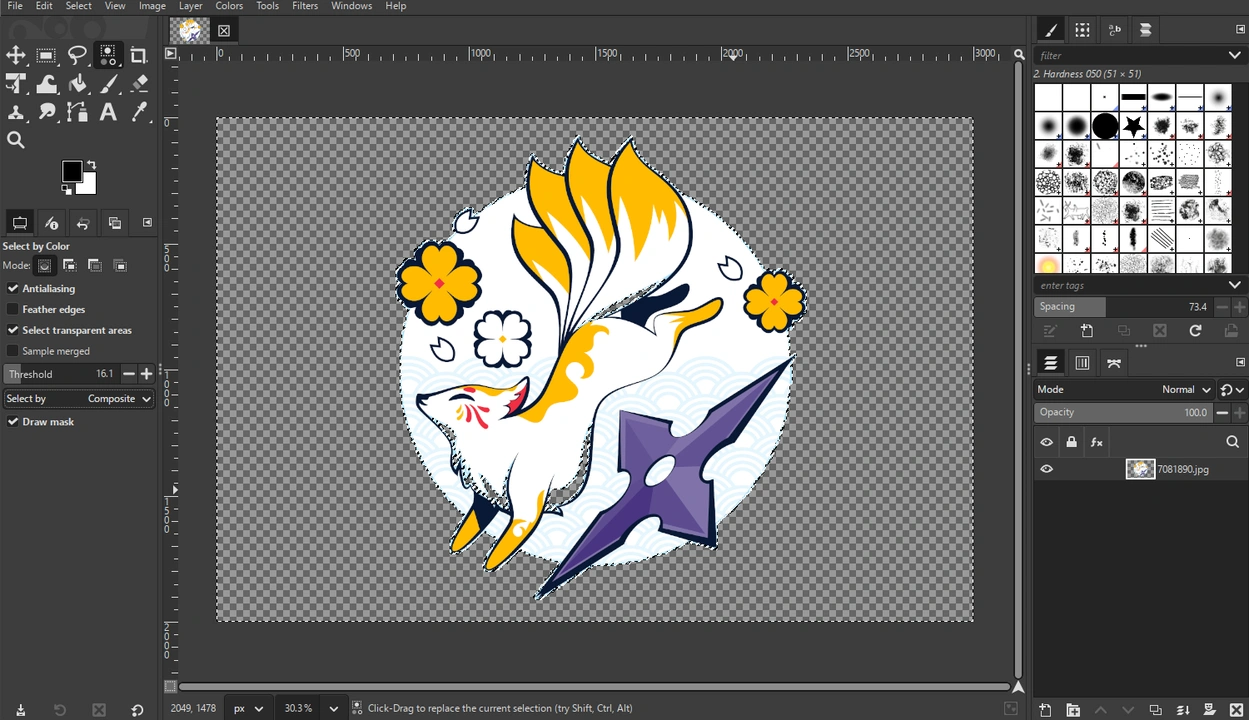
Please note that transparency is indicated by the checkered pattern.
How to Make Background Transparent in GIMP with the Select by Color Tool
Select by Color tool allows you to select every pixel of the same color in your image. This method is great for simple illustrations and vector designs (e.g. logos). But what you need to keep in mind is that you can use it only if the background has a different color than the main subject. In other words, if you need to remove a white background and the main subject also has lots of white areas, you won’t be able to use this method.
Let’s take a look:
- Once the image is uploaded, add an Alpha Channel.
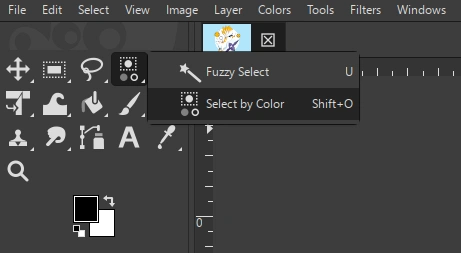
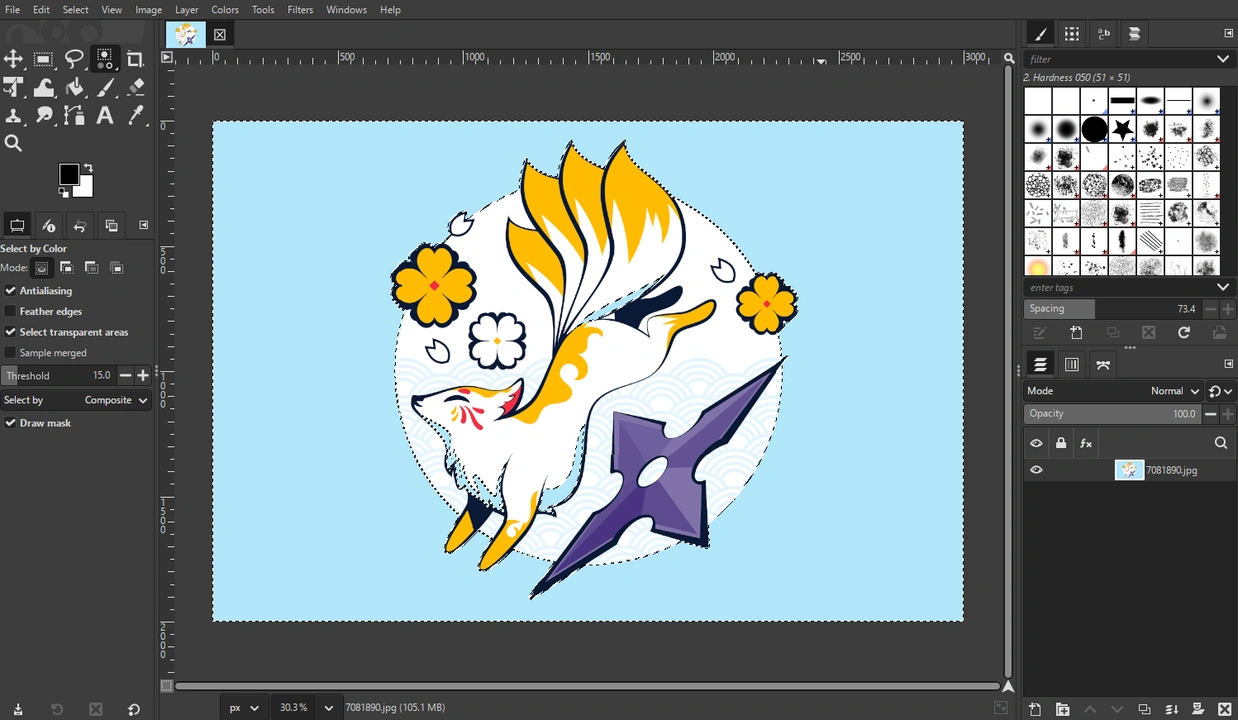
- Right-clicking on the Fuzzy Select tool and choose the Select by Color Tool or use the Shift + O shortcut.
 Enable the Antialiasing and Draw Masks. Please note that if you’re working with an illustration, it might be better to uncheck the Feather Edges option.
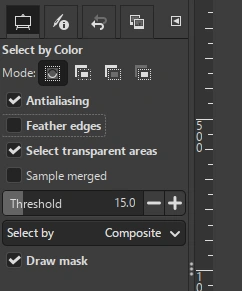
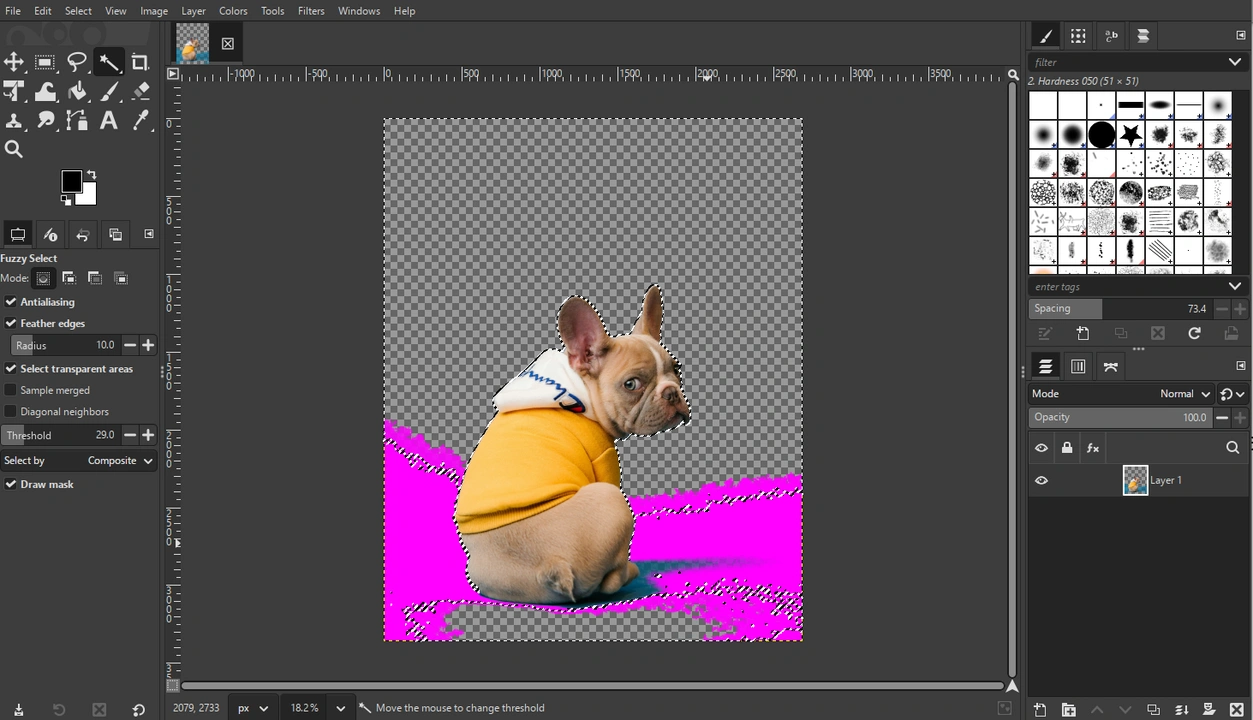
- Click on the background color to select a starting point. Once you do this, the tool will select pixels of the similar color in the entire image.
- It’s also possible to adjust the threshold to refine the selection. This can be done by dragging the cursor up or down.
- Press Delete to delete the pixels in your selection.
- Repeat this process, if needed, until you remove all the background completely.
As you can see, in our example a part of the main subject also became transparent because the color was the same as the background.
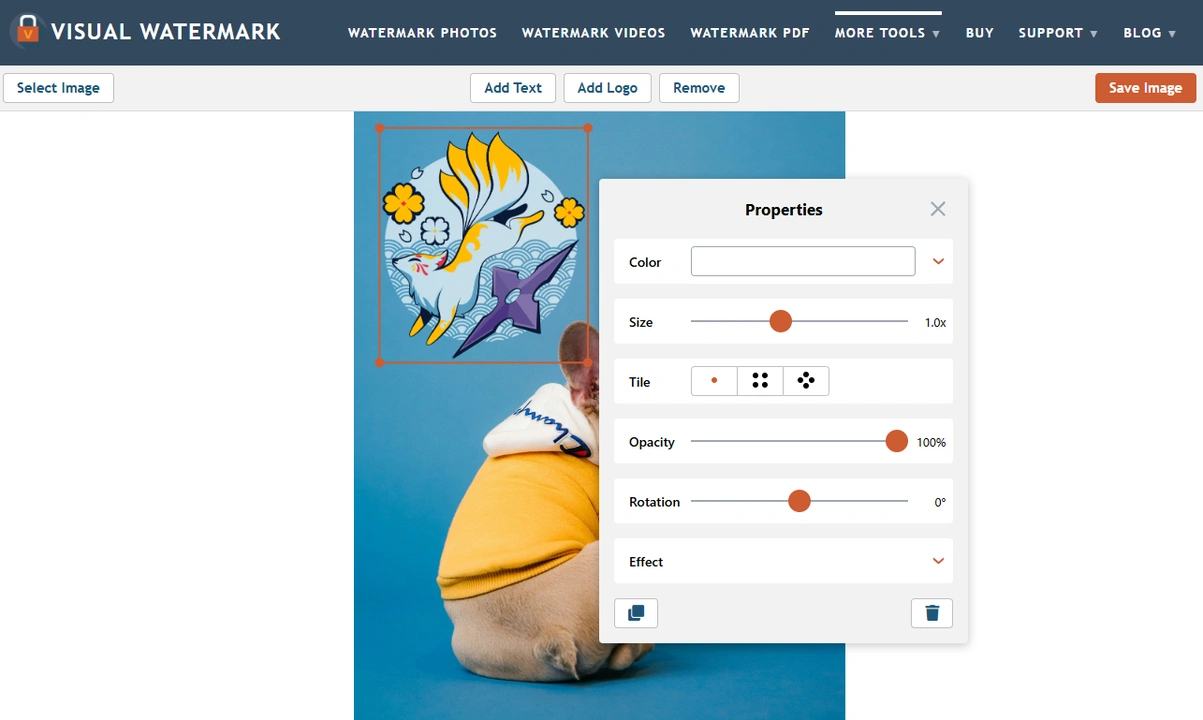
Here’s a tip! If you need to remove the background of a logo to add it as a watermark to your images and videos, there’s an alternative way! You can actually do this in Visual Watermark’s watermarking app. You simply upload the image or video that you need to watermark into the app. Then click on Add logo and import your logo file.
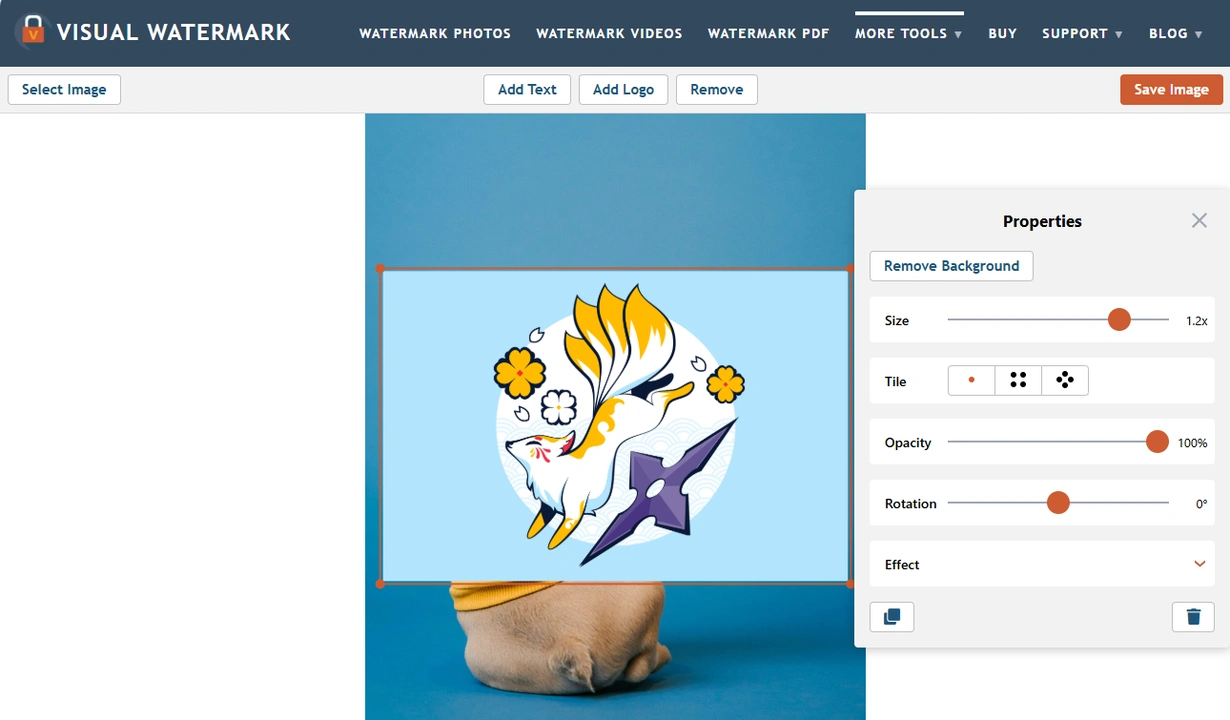
If it has a monochrome background, you will see the Remove Background button in the toolbox. Click on it…and the background will be removed in an instant! You won’t have to make any selections.
How to Make Background Transparent in GIMP with the Paths Tool
Let’s move on to something more difficult. By using the Paths Tool, you will be able to create an incredibly accurate selection and, therefore, achieve the cleanest results. Please note that unlike the previous two methods, here you will need to select the subject.
But this method requires some time, patience and effort since you will need to draw a selection manually. If you are a beginner, you might experience some difficulties, as well. Don’t worry, though. You will get the hang of it with some practice.
So, once you open your image in GIMP and add an Alpha Channel, here’s what you need to do:
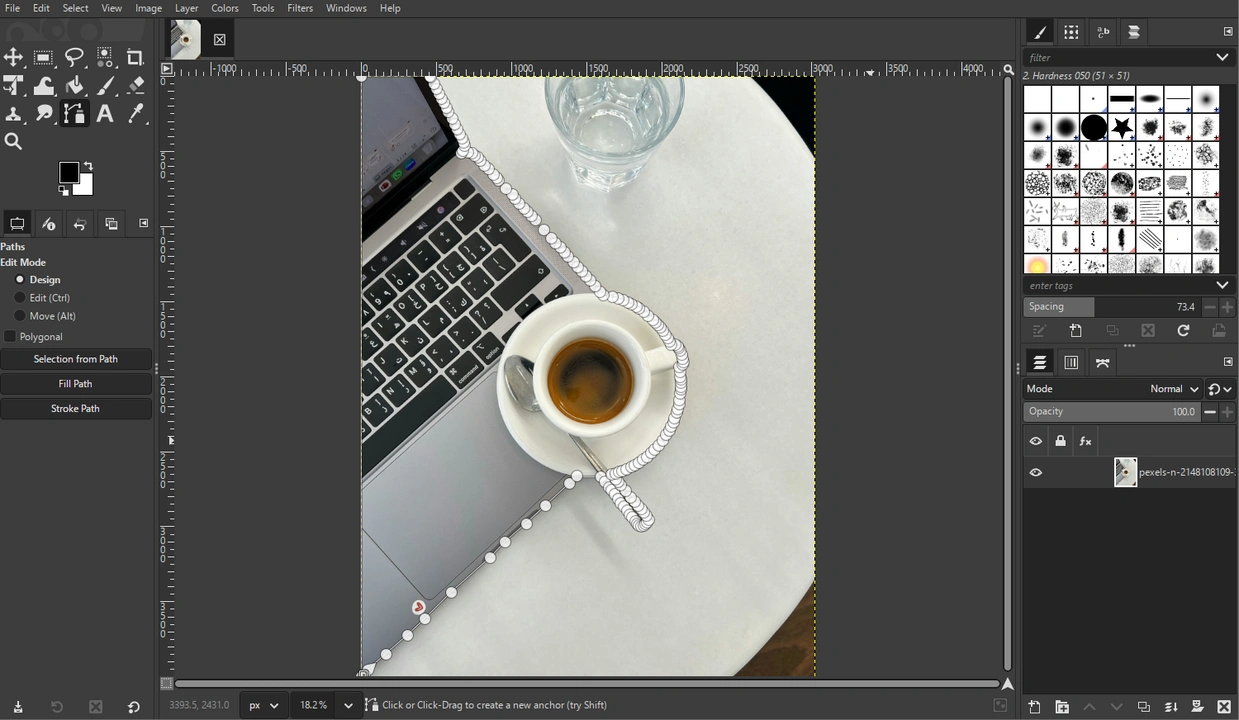
- Select the Paths Tool.
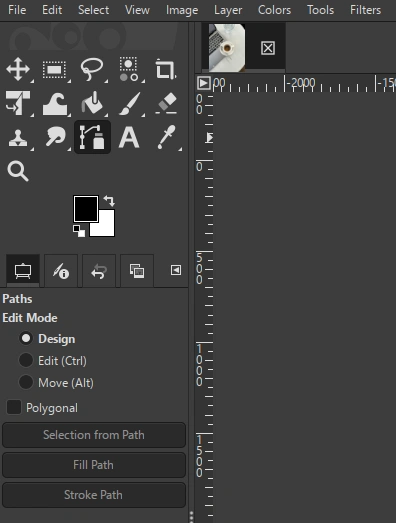
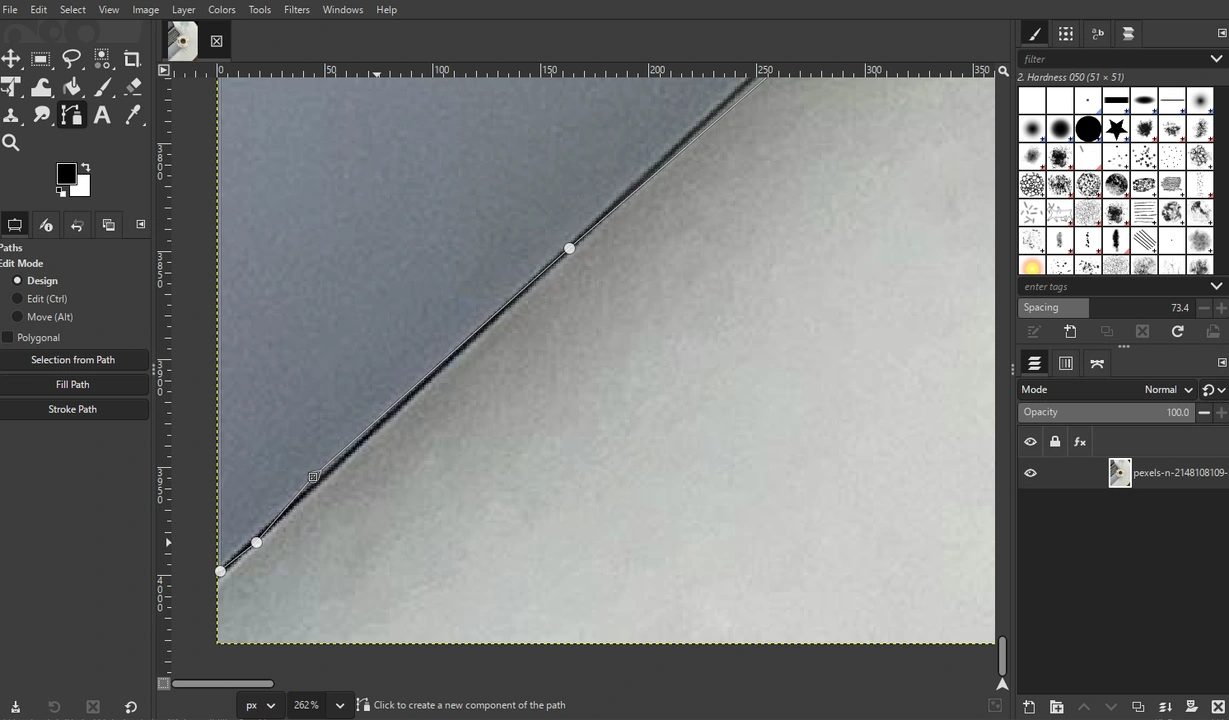
- Zoom in, then start clicking around the edges of the subject. Points will appear every time you click.
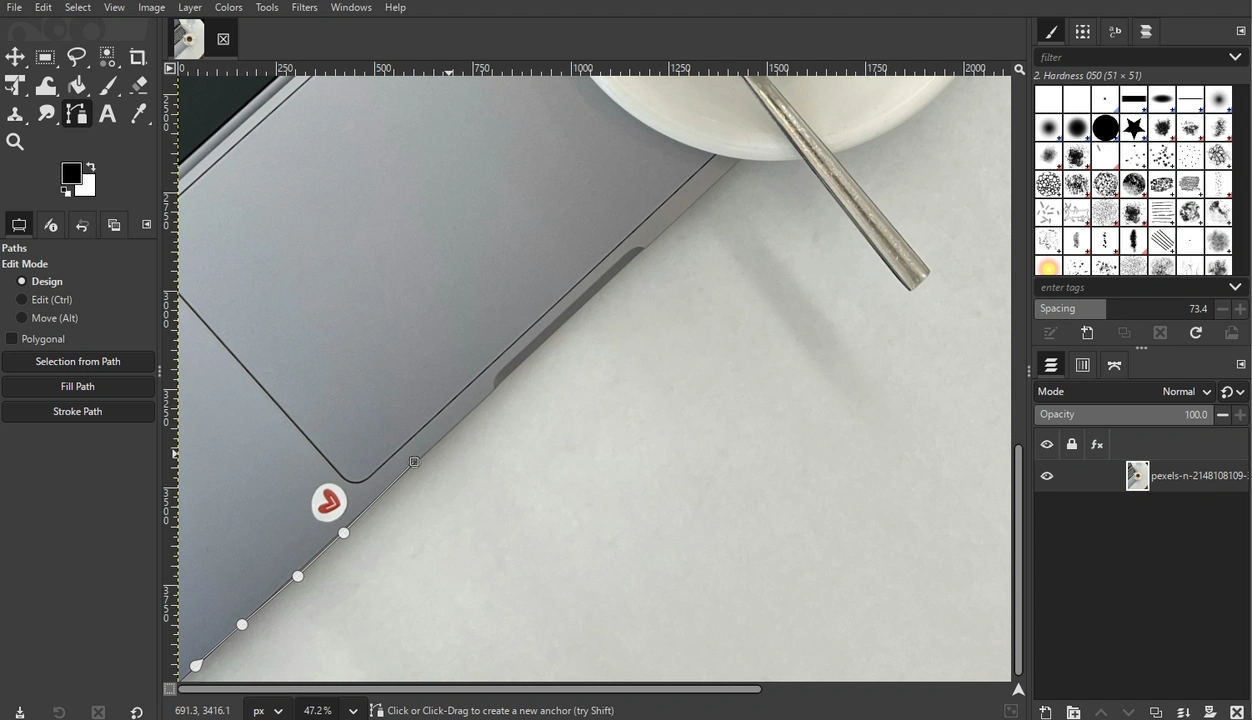
- The lines between the points can be curved. To do this, click on the line and drag it in the necessary direction.
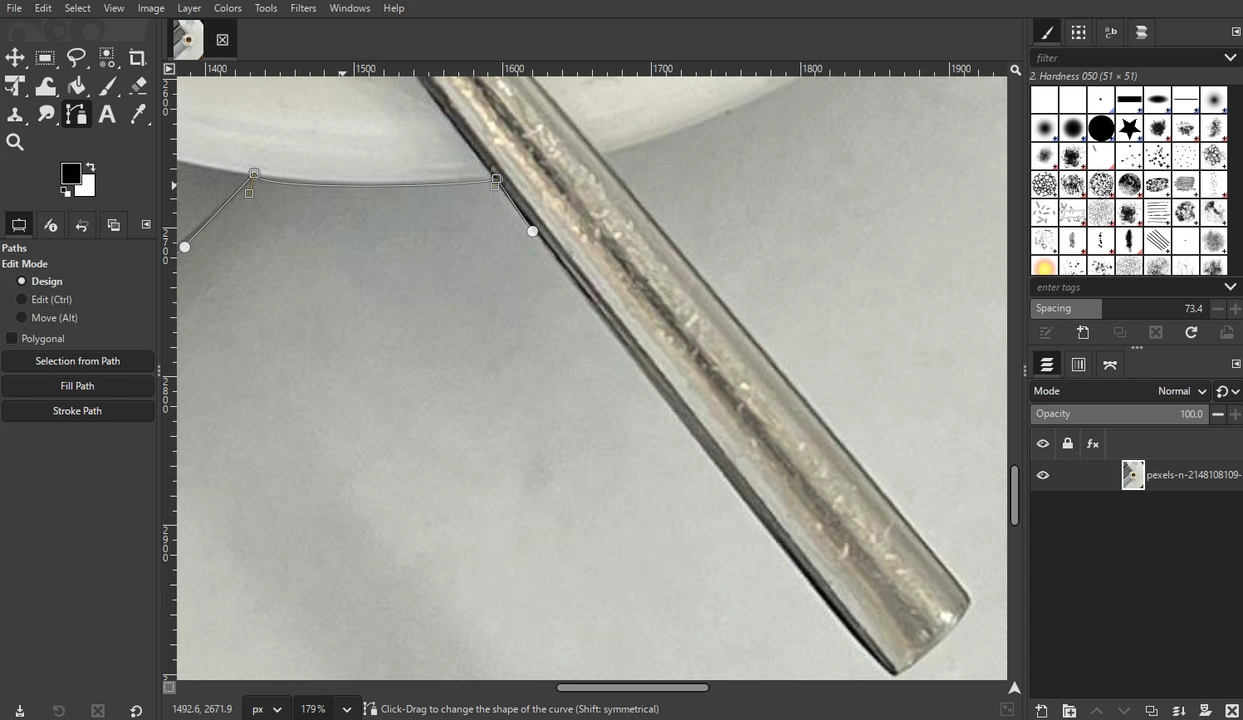 Move the handles, if you need to adjust the curve more precisely.
 - To continue creating the path, click on the last point you created.
- Keep outlining your subject.
- Close the path by connecting the last point to the first.
- Press Enter to turn the path into a selection. Now, your subject is selected!

- Now, you need to invert the selection by going to Select > Invert.
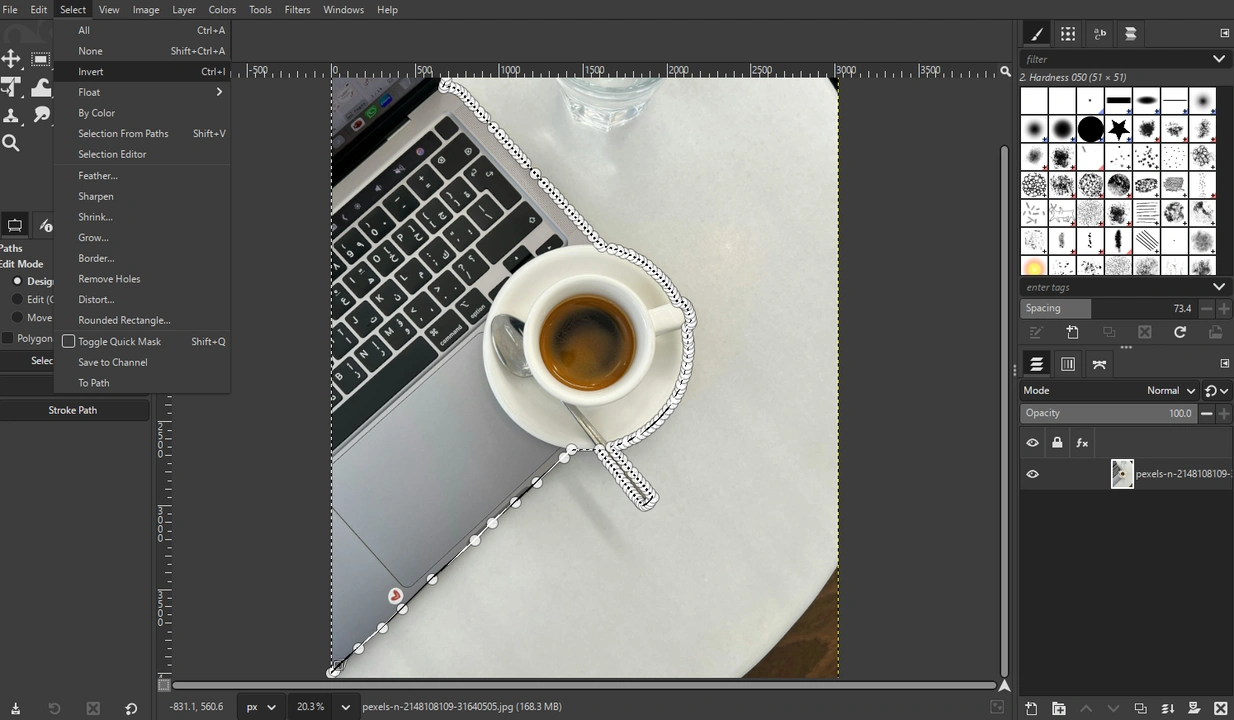
- Press Delete.
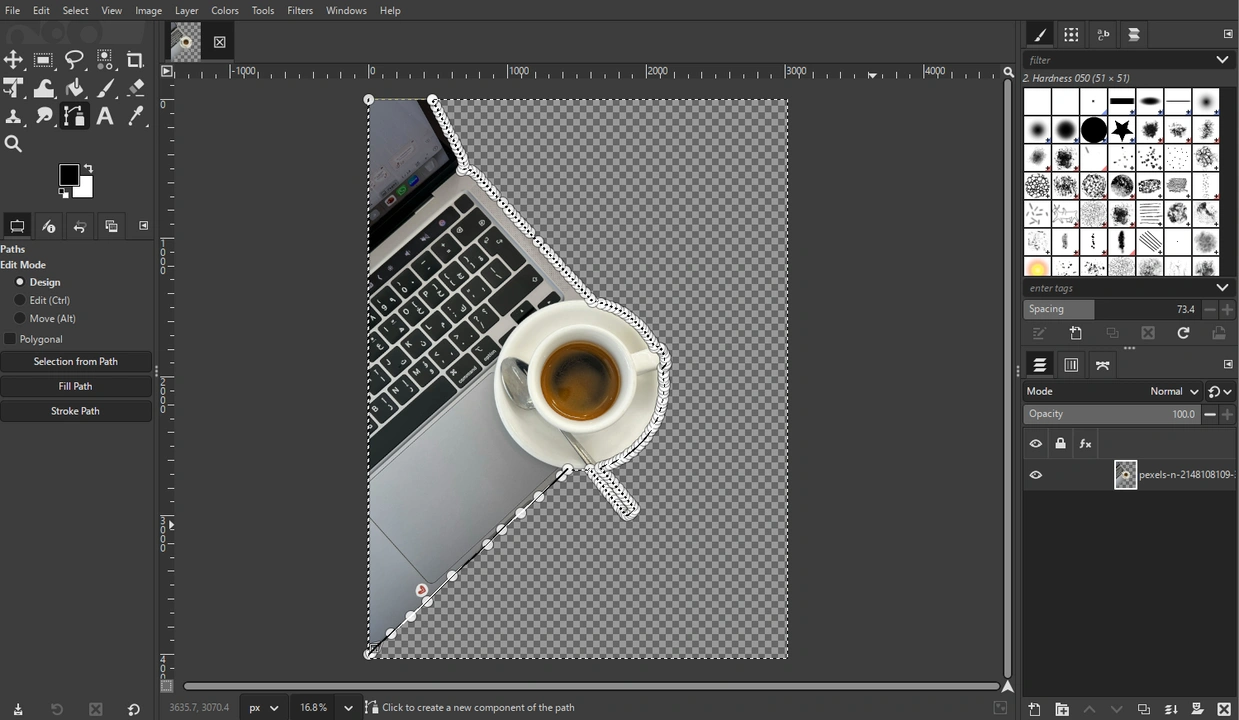
And voila! The background is removed.
How to Make Background Transparent in GIMP with the Layer Masks
This next method is a bit difficult, but can be especially great if the subject has tricky edges. Its main benefit is that you will have more control over transparency.
However, a word of warning! This method only works if there’s contrast between the background and the subject.
So, once again, add an Alpha Channel, then follow these steps:
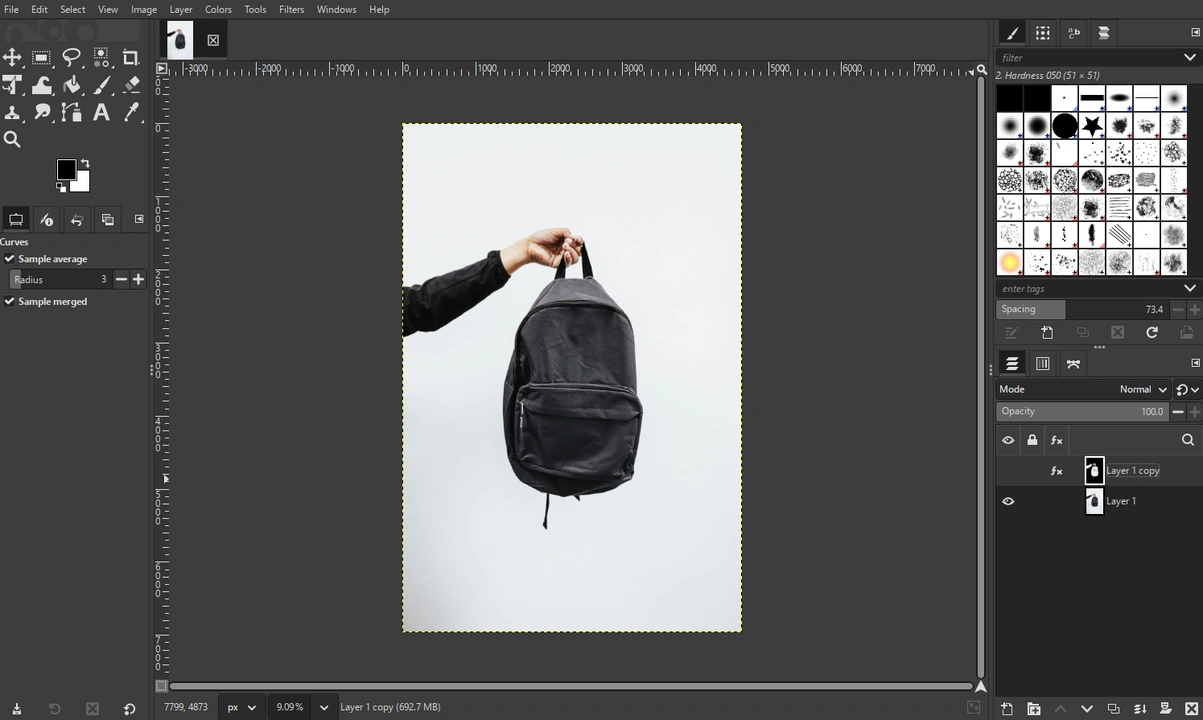
- Right-click on the Layer 1 and select Duplicate Layers in the drop-down menu. This will create a copy of the original layer.
- Go to Colors > Saturation.
 Bring the scale of the saturation down to 0. Click OK.
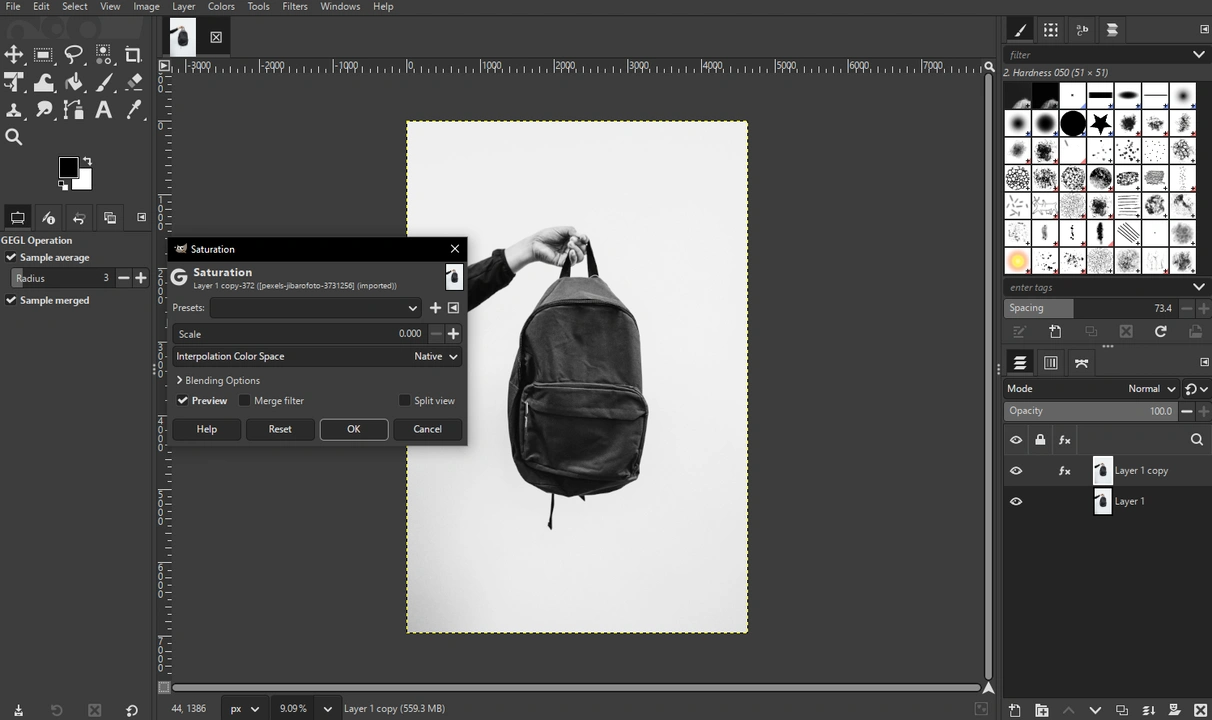
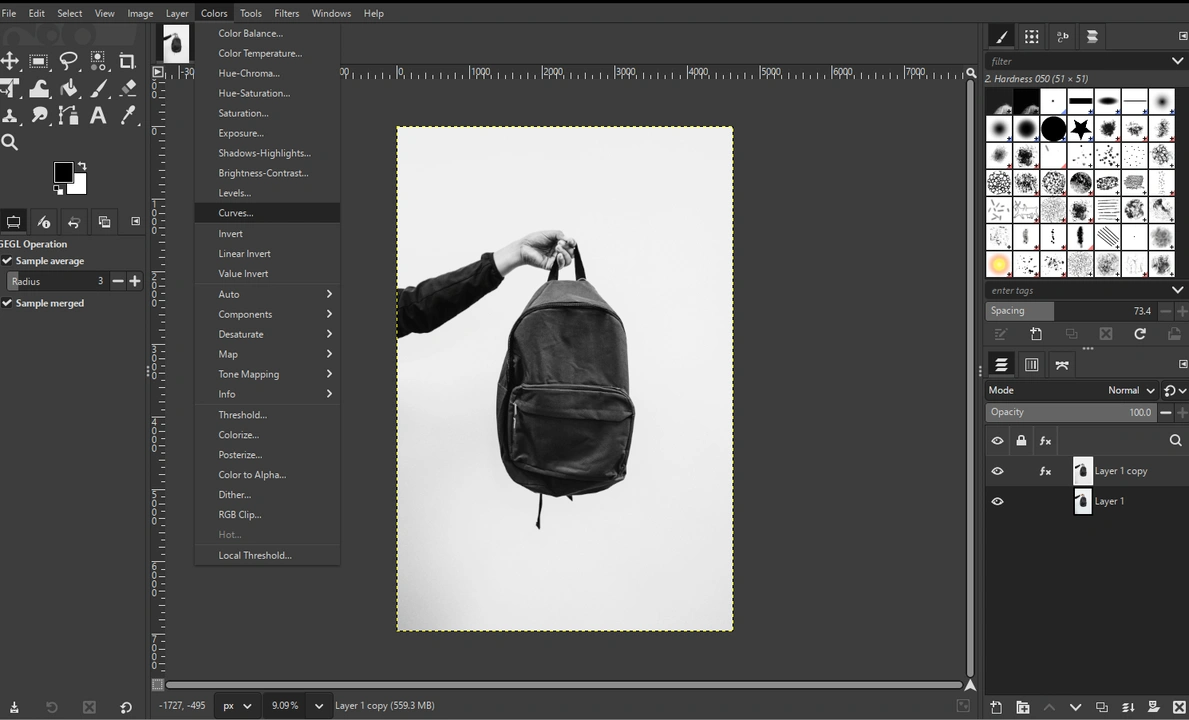
- Next, navigate to Colors > Curves.
 Now, you need to make your subject mostly black and the background mostly white. So, adjust the top and the bottom nodes until you achieve the necessary result.
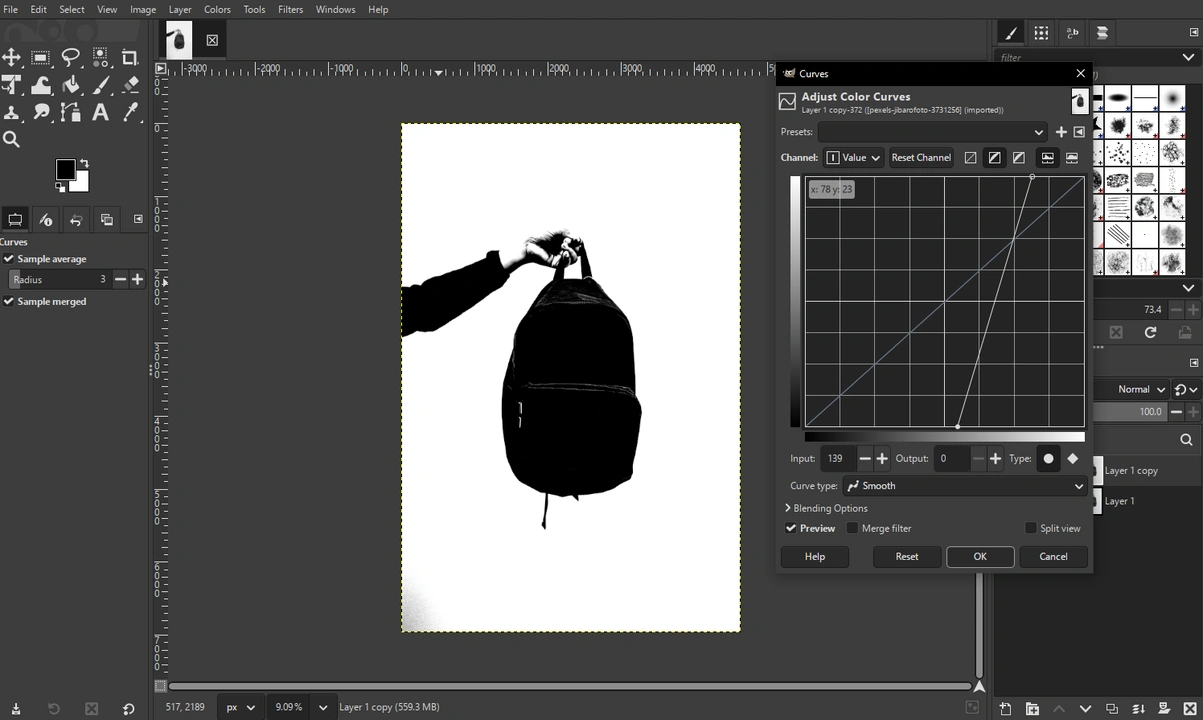
- Hit OK, when you’re done.
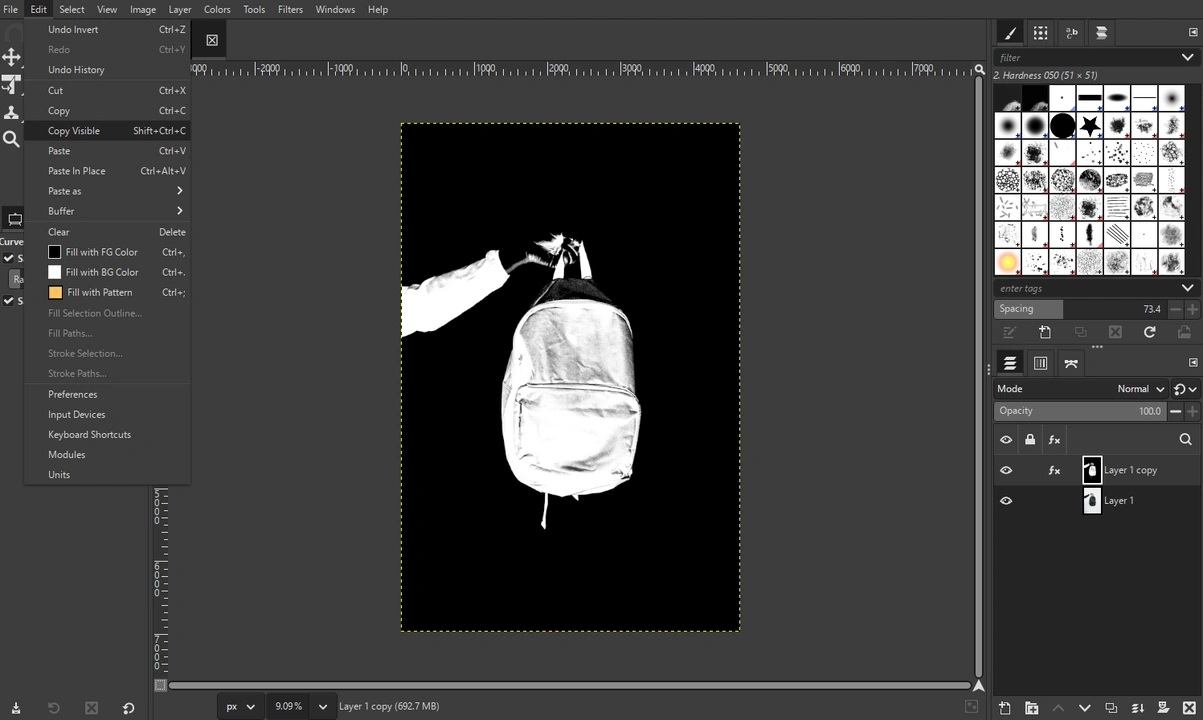
- Go to Colors > Invert.

- Once the image is inverted, go to Edit > Copy Visible.
- Go to the Layers panel and make the top layer invisible by clicking on the eye icon.
- Right-click on the Layer 1 and choose Add Layer Masks.
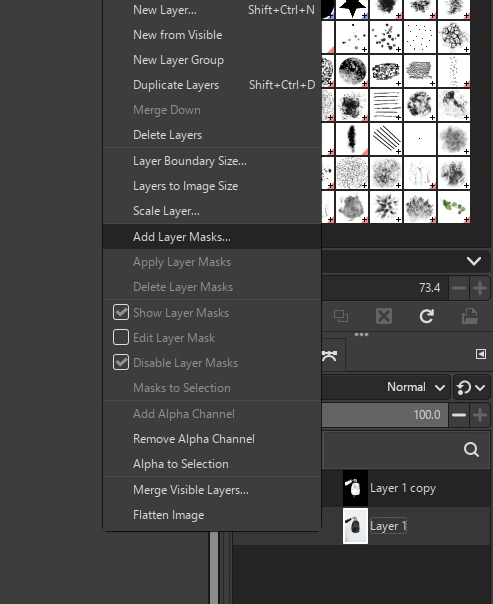
Don’t change anything in the default settings.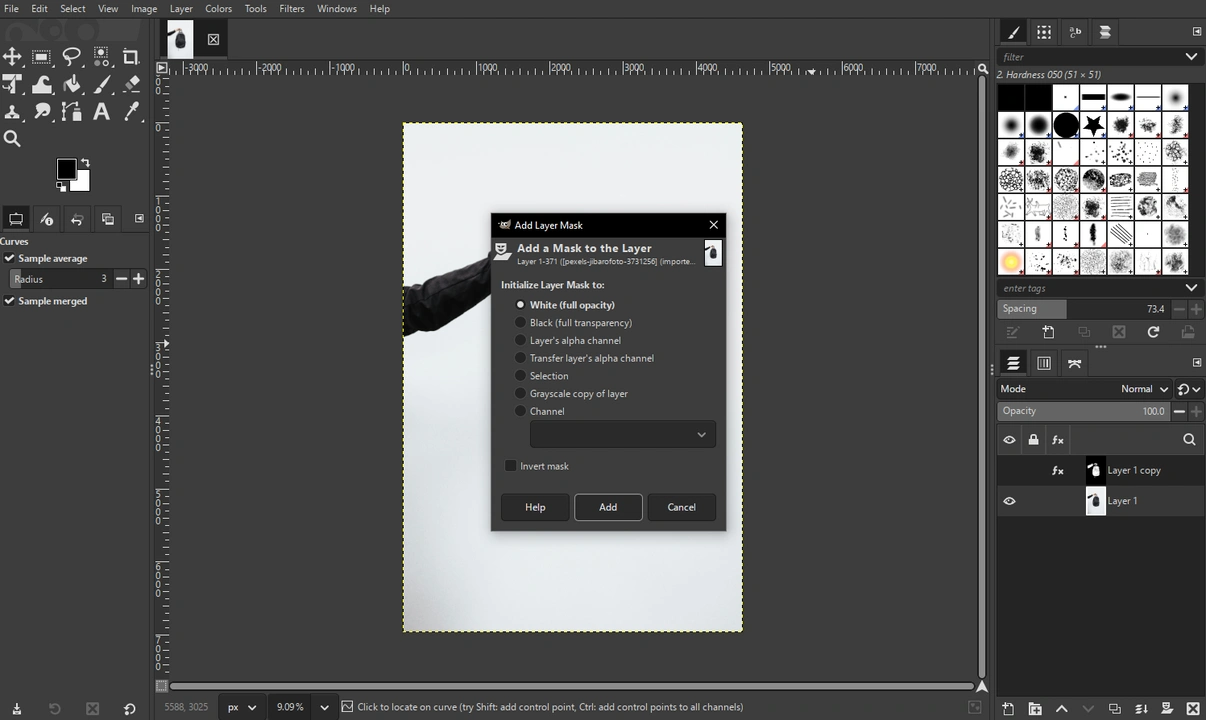
- Go to Edit > Paste, then click on the anchor icon at the bottom of the Layers panel.
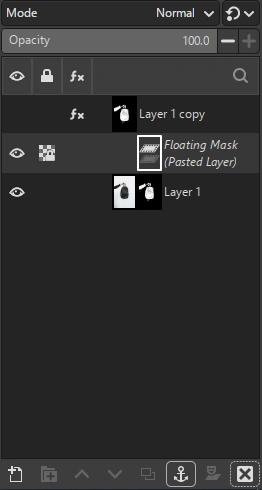
Once you do this, the black areas will be visible, while white areas will become transparent.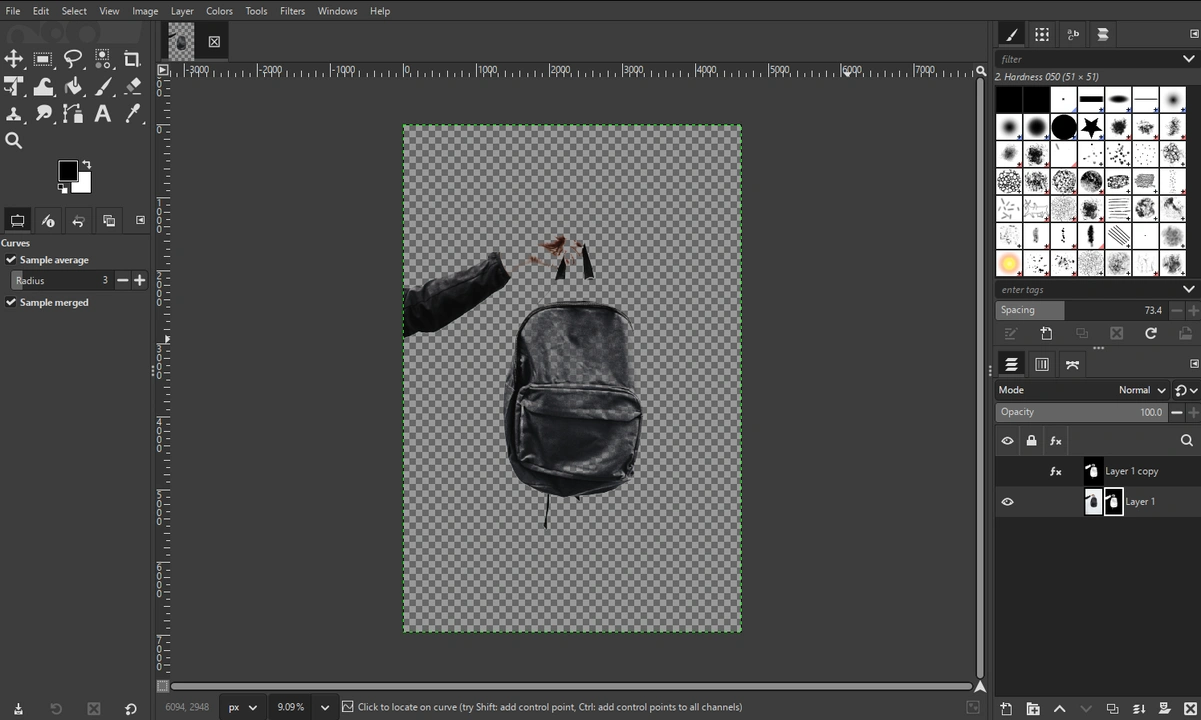
- As you can see, the results aren’t perfect. But this can be easily fixed. Select the mask in the Layers panel. Grab the Brush tool and set the color to white. Make sure the Expand Layers is ticked, otherwise you won’t be able to use the Brush.
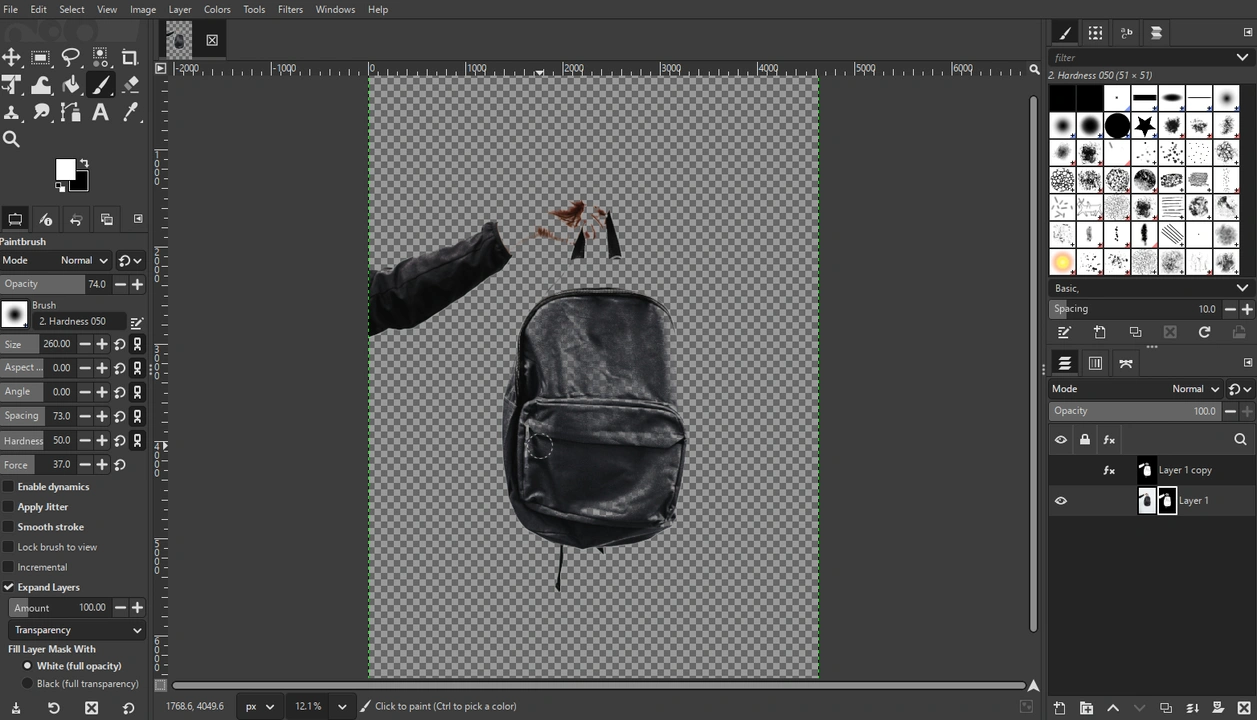 Then paint over the transparent areas that you want to make visible again. Here, you can experiment with the strength and size of the Brush. Just keep in mind that white reveals, black hides.
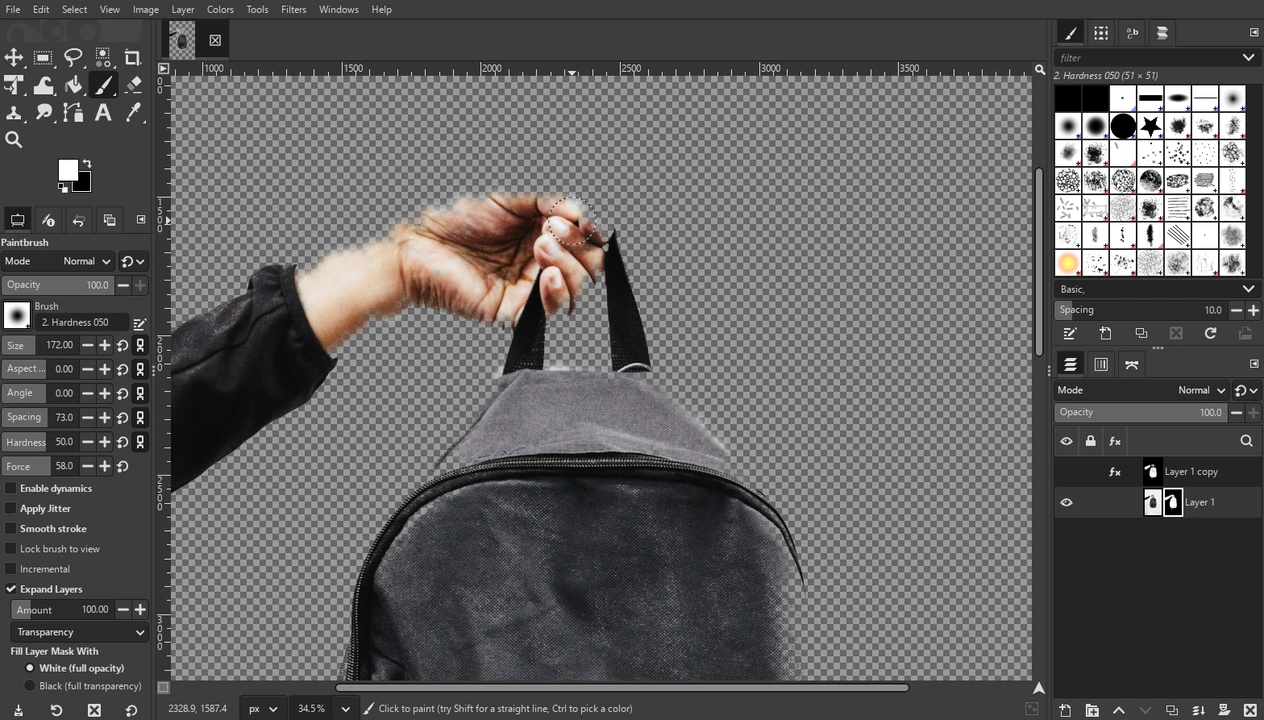
How to Make Background Transparent in GIMP with the Foreground Select Tool
This last method is perfect for selecting subjects with fine details like hair or fur. But unlike the previous one, it doesn’t require the contrast between the subject and the background.
Here’s how it works:
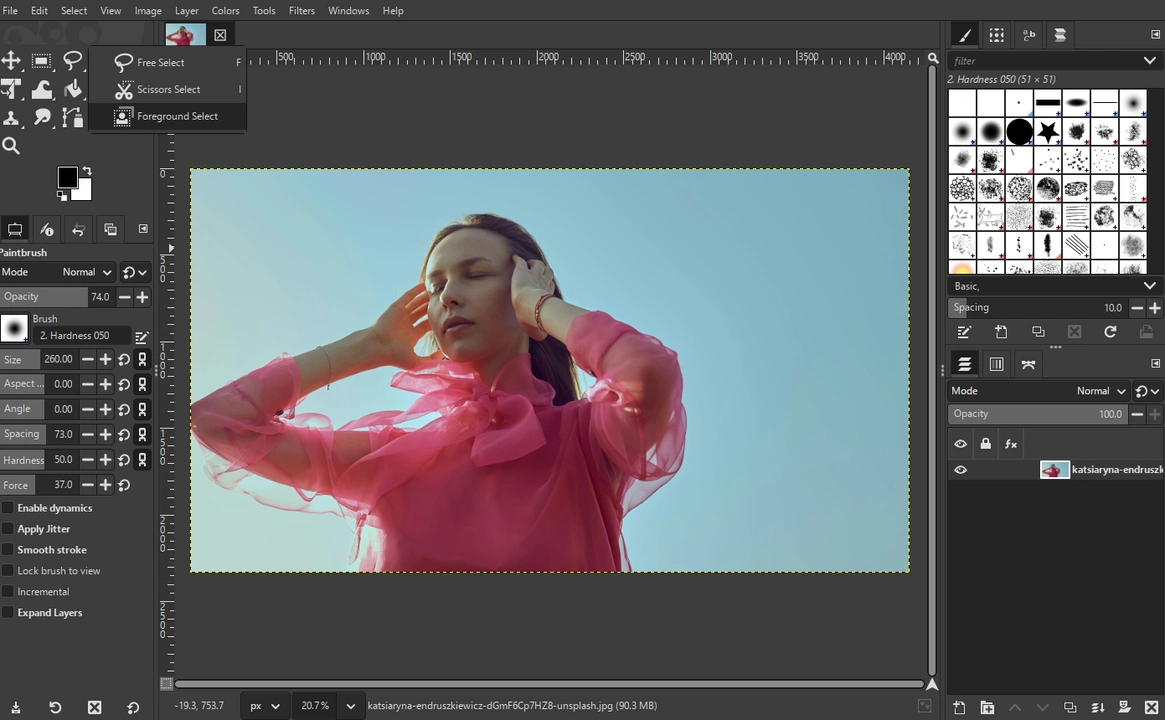
- Once the Alpha Channel is added, right-click on the lasso icon and select the Foreground Select Tool.
- Draw a rough outline around the subject. You don’t need to be super precise here.
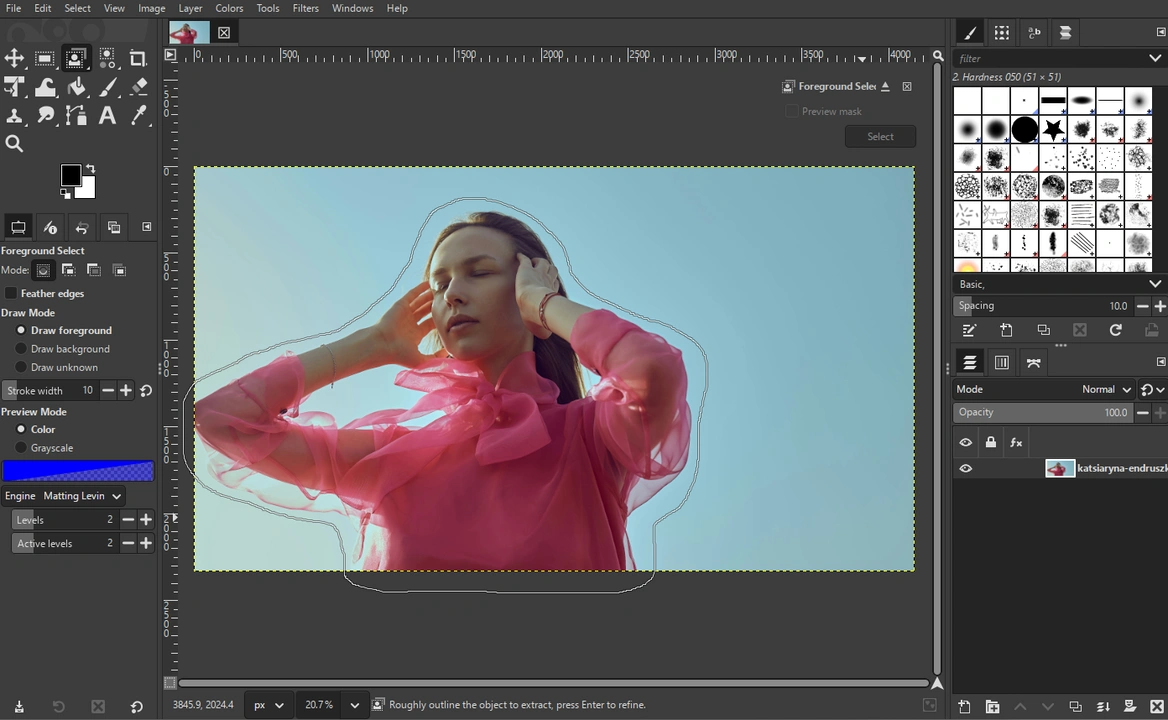
- Bring the line to the starting point, then press Enter.
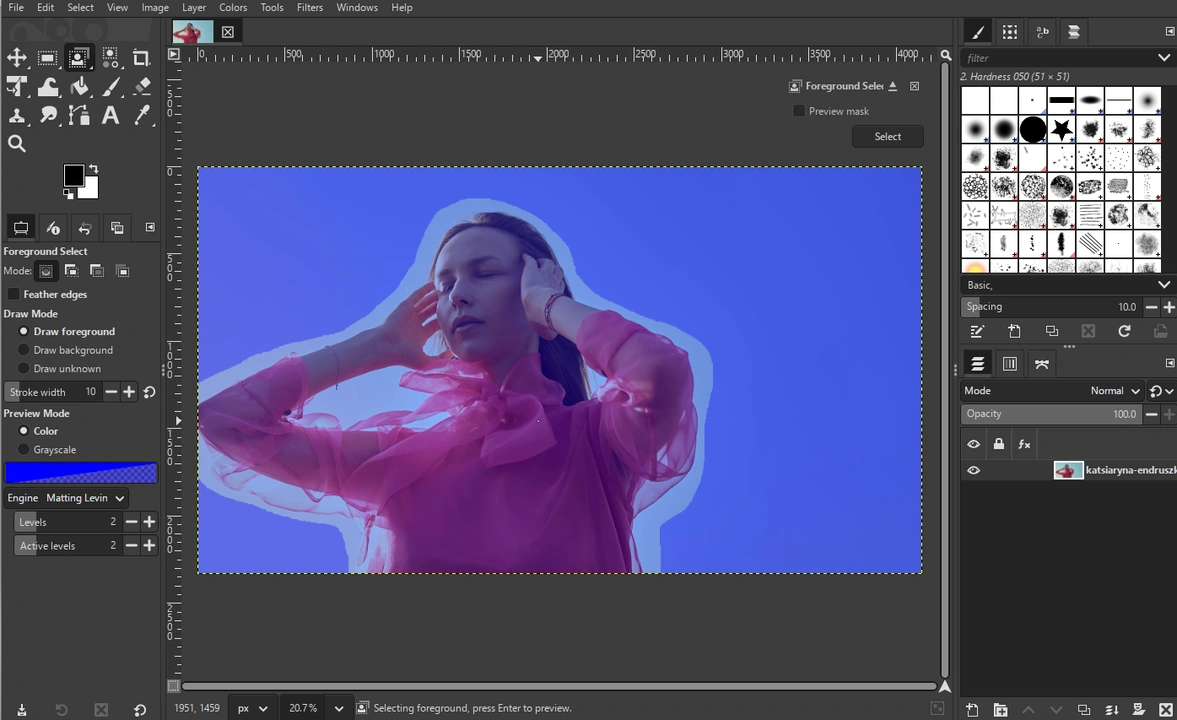
- You will see the dark blue area over the background, while the foreground will be light blue.
- Now, paint over the areas of your subject.
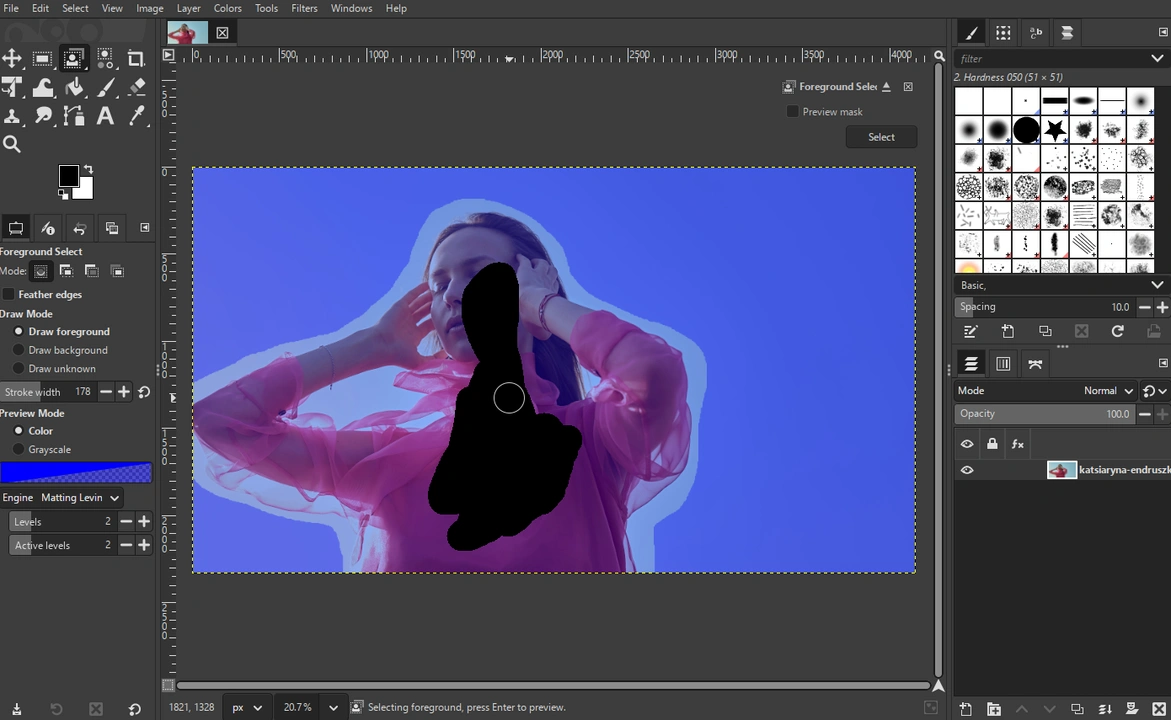 But don’t get too close to the edges.
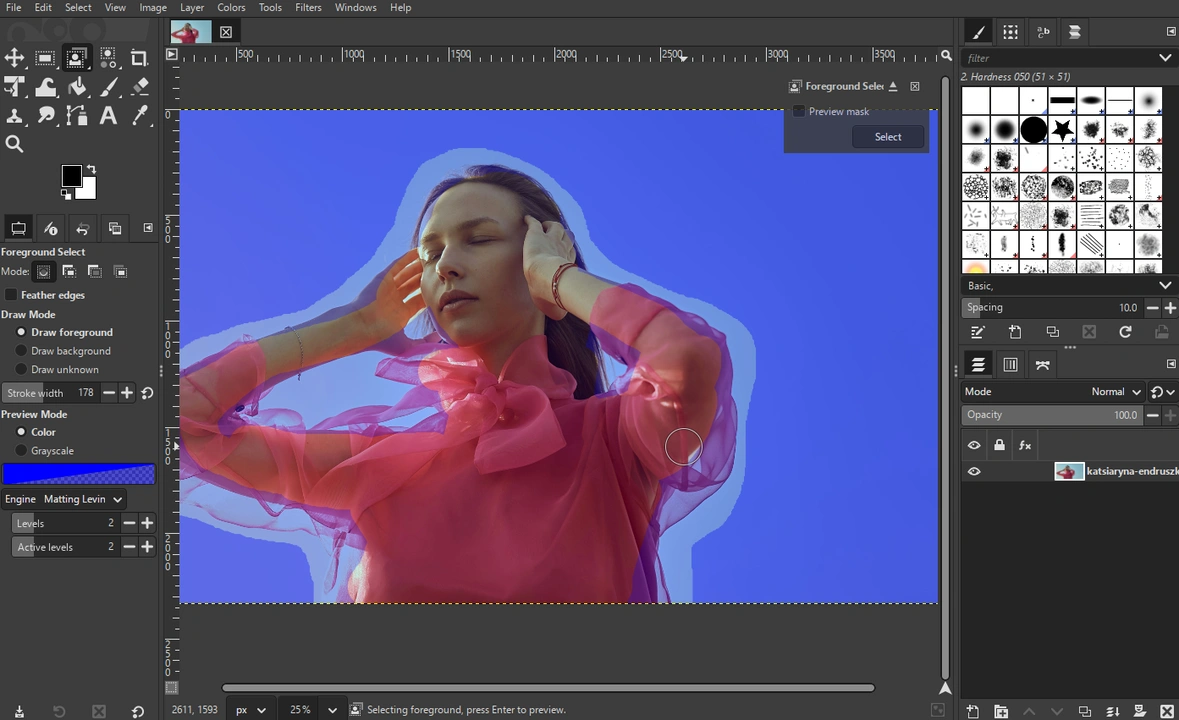
- Use the [ ] keys to increase and decrease the size of the brush.
- When you’re finished, click on the Preview mask to preview the selection.
- If everything looks okay, click on Select.
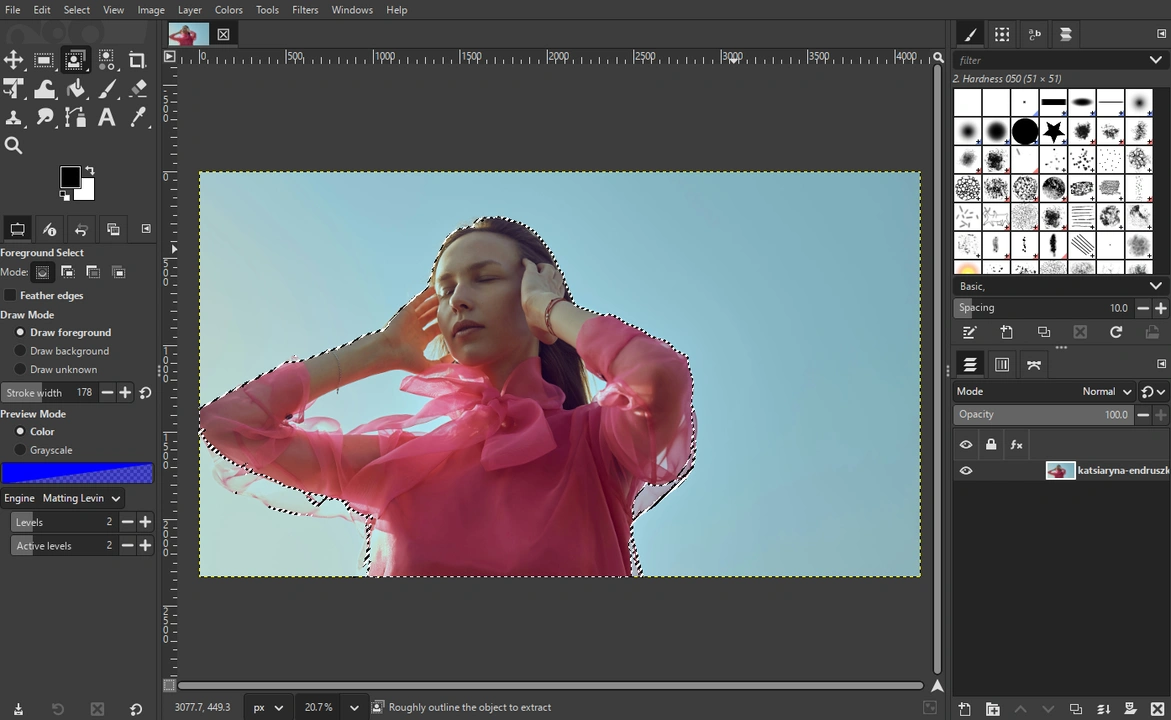
- Invert the selection by going to Select > Invert.
- Press Delete to remove the background.
And you’re good to go!
Exporting Your Transparent Image
Once you made your background transparent, you’ll need to export your image in a format that supports transparency. For instance, PNG.
When you’re done with all the editing, do this:
- Go to File > Export As.
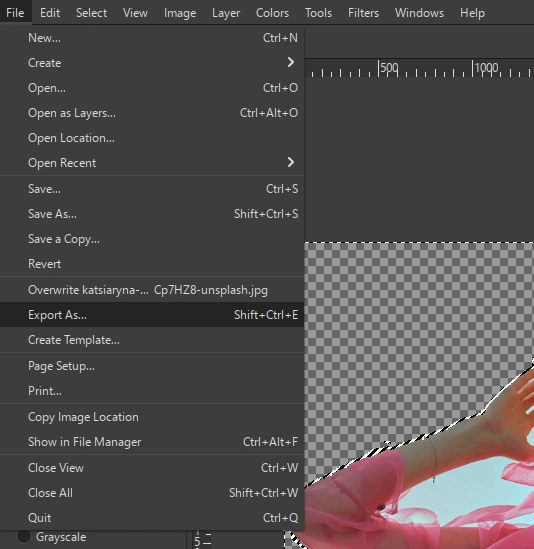
- Choose PNG in the Select File Type menu, then click on Export.
- Adjust the settings, if needed, then click Export.
Please, keep in mind that most image viewing apps won’t show you the checkered pattern to indicate transparency. Instead, transparent parts of your image will probably be shown as white. So, don’t panic if that’s what you see when you open your image to view it on your computer.
Here’s a tip! It may come as a surprise, but you can actually use Visual Watermark’s Add Text to Photo app to create a nice-looking collage quickly and effortlessly. You need to open the app and import the background image. Then import all the images that you want to use in your collage by using the Add Logo button. Please note that you will need to import images one by one. And, of course, it would be better if your images have transparent background. Transparency will help you create a more visually-pleasing and neat collage. Once all the images are imported, resize, reposition and make all the other necessary adjustments. You can also add some text with the help of Add Text button. Finally, simply save your collage by clicking on the Save Image button.
Conclusion
GIMP is often overlooked. But it’s actually a powerful image editor that offers flexibility and an impressive suite of tools. And it doesn’t cost a cent!
Now you know that you can easily make background transparent in GIMP. The Fuzzy Select tool and the Select by Color tool will be perfect for removing simple backgrounds. Meanwhile, the Paths Tools and the Layer Mask usually requires some patience and precision. So, if you’re new to image editing, you might need to practice a bit. The Foreground Select tool is somewhere in the middle in terms of difficulty, and it’s great for subjects with stray hair and fur.
Hopefully, our guide has equipped you with all the necessary knowledge and now you’ll be able to bring your vision to life.